环境说明
我们选择了 CentOS 7.6 版本进行测试验证。在这个环境中,我们将使用源码包来部署 Zabbix Server,并选择 MySQL 8.0 版本作为数据库。同时,我们将使用 nginx+php 来实现 zabbix-web。以下是具体的信息:
| 软件名 | 版本 | 安装方式 |
| Zabbix Server | 6.0.3 | 源码安装 |
| Zabbix Agent | 6.0.3 | 源码安装 |
| MySQL | 8.0.28 | yum安装 |
| Nginx | 1.20.1 | yum安装 |
| PHP | 7.4.29 | yum安装 |
安装MySQL
1、下载软件包
cat << EOF >download.sh
#!/bin/bash
wget https://mirrors.cloud.tencent.com/mysql/downloads/MySQL-8.0/mysql-community-client-8.0.28-1.el7.x86_64.rpm
wget https://mirrors.cloud.tencent.com/mysql/downloads/MySQL-8.0/mysql-community-devel-8.0.28-1.el7.x86_64.rpm
wget https://mirrors.cloud.tencent.com/mysql/downloads/MySQL-8.0/mysql-community-embedded-compat-8.0.28-1.el7.x86_64.rpm
wget https://mirrors.cloud.tencent.com/mysql/downloads/MySQL-8.0/mysql-community-libs-8.0.28-1.el7.x86_64.rpm
wget https://mirrors.cloud.tencent.com/mysql/downloads/MySQL-8.0/mysql-community-libs-compat-8.0.28-1.el7.x86_64.rpm
wget https://mirrors.cloud.tencent.com/mysql/downloads/MySQL-8.0/mysql-community-server-8.0.28-1.el7.x86_64.rpm
wget https://mirrors.cloud.tencent.com/mysql/downloads/MySQL-8.0/mysql-community-common-8.0.28-1.el7.x86_64.rpm
wget https://mirrors.cloud.tencent.com/mysql/downloads/MySQL-8.0/mysql-community-client-plugins-8.0.28-1.el7.x86_64.rpm
wget https://mirrors.cloud.tencent.com/mysql/downloads/MySQL-8.0/mysql-community-icu-data-files-8.0.28-1.el7.x86_64.rpm
EOF

bash download.sh
2、进行安装
yum localinstall ./mysql-community-* -y
3、修改配置文件(更改数据存放路径)
mkdir /data/mysql -p

# grep -v -E '^#|^$' /etc/my.cnf
[mysqld]
port=3306
default-storage-engine=InnoDB
max_connections=1200
datadir=/data/mysql
socket=/var/lib/mysql/mysql.sock
log-error=/var/log/mysqld.log
pid-file=/var/run/mysqld/mysqld.pid
log_slave_updates=ON
log_bin=mysql-bin
binlog_format=ROW
4、启动MySQL并设置开机自启
systemctl enable --now mysqld
5、修改密码
# grep password /var/log/mysqld.log
2022-04-13T07:31:54.168545Z 6 [Note] [MY-010454] [Server] A temporary password is generated for root@localhost: RP-u?qo.,4hD

# mysql -uroot -p
Enter password:
......

mysql> ALTER USER 'root'@'localhost' IDENTIFIED BY "Admin@zaq213";
Query OK, 0 rows affected (0.01 sec)
6、创建初始数据库及用户
mysql> create database zabbix character set utf8 collate utf8_bin;

mysql> create user 'zabbix'@'%' identified by 'Zabbix';

mysql> grant all privileges on zabbix.* to 'zabbix'@'%' with grant option;

mysql> alter user 'zabbix'@'%' identified with mysql_native_password by 'Zabbix';

mysql> select user,host,plugin from mysql.user;
+------------------+-----------+-----------------------+
| user             | host      | plugin                |
+------------------+-----------+-----------------------+
| zabbix           | %         | mysql_native_password |
| mysql.infoschema | localhost | caching_sha2_password |
| mysql.session    | localhost | caching_sha2_password |
| mysql.sys        | localhost | caching_sha2_password |
| root             | localhost | caching_sha2_password |
+------------------+-----------+-----------------------+
5 rows in set (0.00 sec)
安装Zabbix
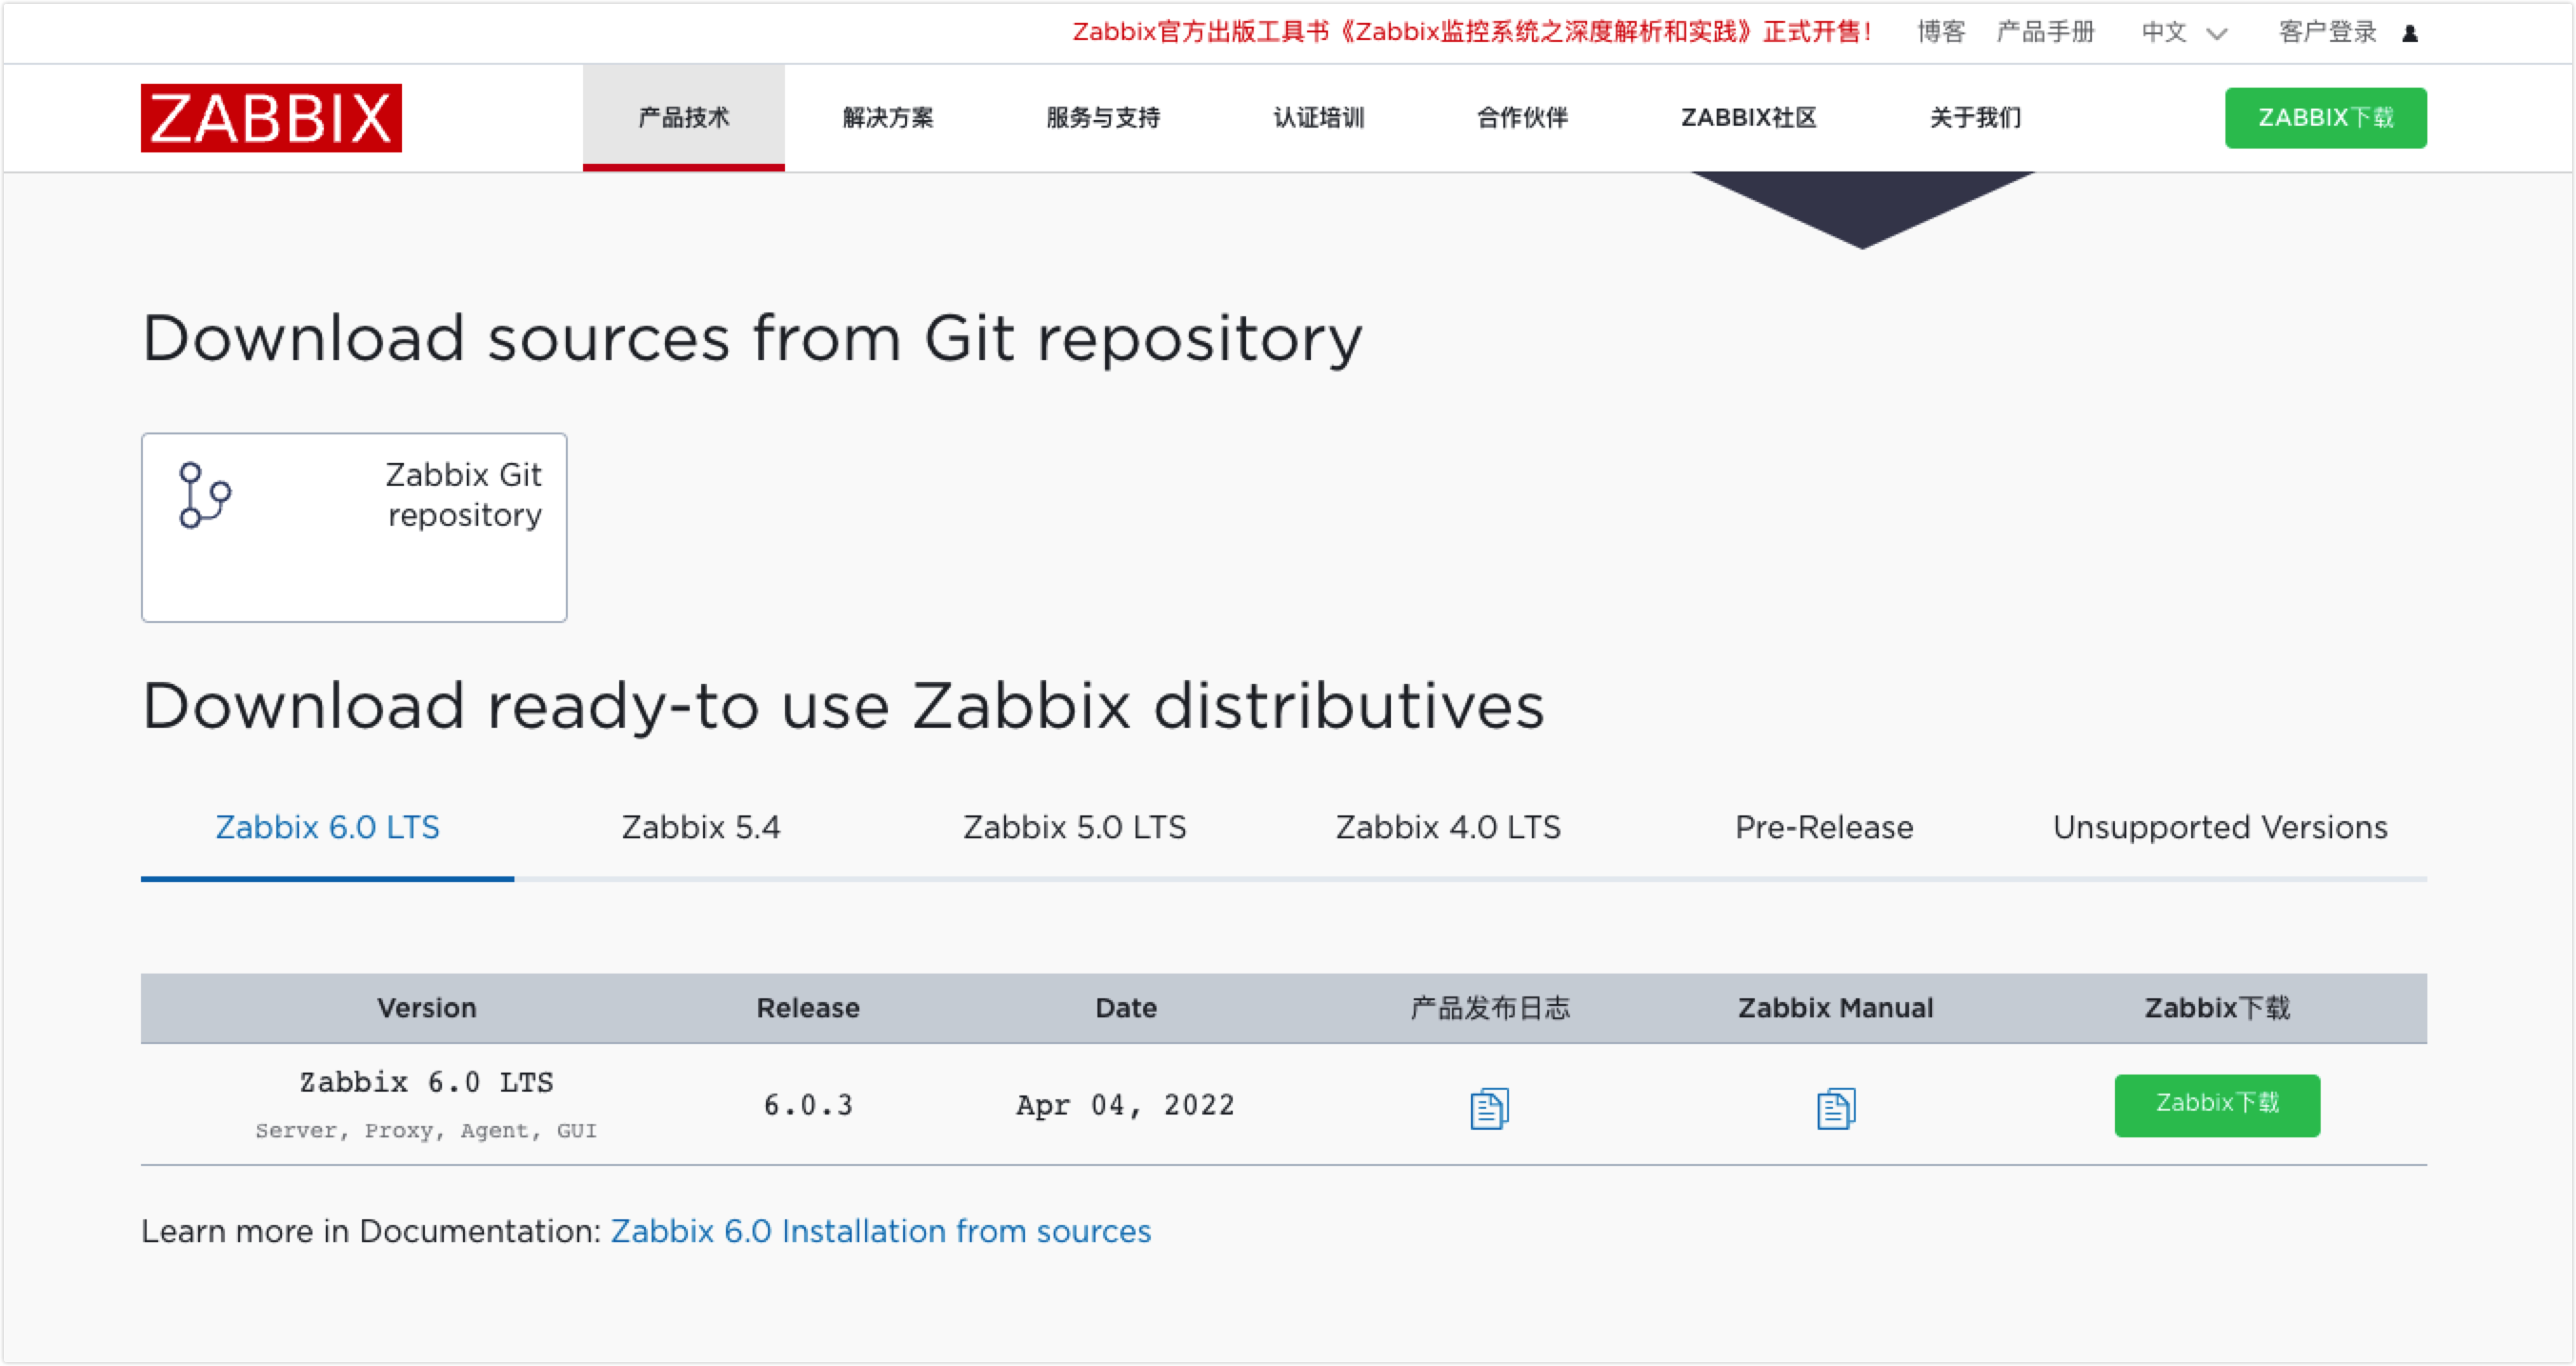
下载软件包:https://www.zabbix.com/cn/download_sources
1、解压软件包
tar -zxvf zabbix-6.0.3.tar.gz
2、创建 zabbix 用户
groupadd --system zabbix

useradd --system -g zabbix -d /usr/lib/zabbix -s /sbin/nologin -c "Zabbix Monitoring System" zabbix
3、初始化数据(进入解压目录下的 database 目录下)
cd zabbix-6.0.3/database/mysql

mysql -uzabbix -pZabbix zabbix < schema.sql

mysql -uzabbix -pZabbix zabbix < images.sql

mysql -uzabbix -pZabbix zabbix < data.sql
4、安装编译所需的依赖,这里根据启用的模块不一样,所需要的依赖也不一样
yum install gcc mysql-devel libevent-devel libcurl-devel libxml2-devel libssh2-devel OpenIPMI-devel net-snmp-devel go java-devel -y
5、进行编译安装,去到软件包解压目录zabbix-6.0.3中
cd zabbix-6.0.3

./configure --prefix=/usr/local/zabbix  --enable-server --enable-agent --with-mysql --enable-ipv6 --with-net-snmp --with-libcurl --with-libxml2 --with-openipmi --with-ssh2 --enable-java
如果gcc编译器for循环代码报错,解决办法是在configure前配置-std=gnu99,然后重新编译安装
export CFLAGS="-std=gnu99"
配置完成如下图所示,这里可以看到我们启用了java gateway、agent等等

接着进行安装
make install
安装完成后,可以看下所安装的目录的内容
# tree /usr/local/zabbix/
/usr/local/zabbix/
├── bin
│   ├── zabbix_get
│   ├── zabbix_js
│   └── zabbix_sender
├── etc
│   ├── zabbix_agent2.conf
│   ├── zabbix_agentd.conf
│   ├── zabbix_agentd.conf.d
│   ├── zabbix_server.conf
│   └── zabbix_server.conf.d
├── lib
│   └── modules
├── sbin
│   ├── zabbix_agentd
│   ├── zabbix_java
│   │   ├── bin
│   │   │   └── zabbix-java-gateway-6.0.3.jar
│   │   ├── lib
│   │   │   ├── android-json-4.3_r3.1.jar
│   │   │   ├── logback-classic-1.2.9.jar
│   │   │   ├── logback-console.xml
│   │   │   ├── logback-core-1.2.9.jar
│   │   │   ├── logback.xml
│   │   │   └── slf4j-api-1.7.32.jar
│   │   ├── settings.sh
│   │   ├── shutdown.sh
│   │   └── startup.sh
│   └── zabbix_server
└── share
    ├── man
    │   ├── man1
    │   │   ├── zabbix_get.1
    │   │   └── zabbix_sender.1
    │   └── man8
    │       ├── zabbix_agentd.8
    │       └── zabbix_server.8
    └── zabbix
        ├── alertscripts
        └── externalscripts

17 directories, 22 files
6、修改配置文件
cp /usr/local/zabbix/etc/zabbix_server.conf{,.bak}

# grep -v -E "^#|^$" /usr/local/zabbix/etc/zabbix_server.conf
LogFile=/usr/local/zabbix/log/zabbix_server.log
LogFileSize=0
PidFile=/var/run/zabbix/zabbix_server.pid
SocketDir=/var/run/zabbix
DBHost=127.0.0.1
DBPort=3306
DBName=zabbix
DBUser=zabbix
DBPassword=Zabbix
StartPollers=12
StartTrappers=30
StartDiscoverers=50
StartHTTPPollers=100
SNMPTrapperFile=/var/log/snmptrap/snmptrap.log
CacheSize=4G
CacheUpdateFrequency=1200
ValueCacheSize=12G
Timeout=4
AlertScriptsPath=/usr/local/zabbix/alertscripts
ExternalScripts=/usr/local/zabbix/externalscripts
FpingLocation=/sbin/fping
LogSlowQueries=3000
StatsAllowedIP=127.0.0.1
7、创建相关配置目录及权限设置
mkdir -p /usr/local/zabbix/{alertscripts,externalscripts,log}
mkdir /var/run/zabbix

chown zabbix.zabbix /var/run/zabbix/
chown zabbix.zabbix /usr/local/zabbix/ -R
8、配置systemd启动
cat <<EOF > /etc/systemd/system/zabbix-server.service
[Unit]
Description=Zabbix Server
After=syslog.target network.target network-online.target
Wants=network.target network-online.target

[Service]
Type=simple
User=root
ExecStart=/usr/local/zabbix/sbin/zabbix_server -c /usr/local/zabbix/etc/zabbix_server.conf
RemainAfterExit=yes
PIDFile=/var/run/zabbix/zabbix_server.pid

[Install]
WantedBy=multi-user.target
EOF
9、加入开机启动并启动
systemctl daemon-reload

systemctl enable zabbix-server --now
安装zabbix-web
这里采用nginx+php部署来支撑zabbix-web,这样在后期如果有漏洞,也方便对应升级维护,如nginx有漏洞,可以直接把nginx升级即可。
1、配置yum,这里使用清华大学的yum源
yum install https://mirrors.tuna.tsinghua.edu.cn/remi/enterprise/remi-release-7.rpm -y
2、安装php
yum install php74-php php74-php-fpm php74-php-ldap php74-php-bcmath php74-php-mbstring php74-php-common php74-php-gd php74-php-mysql php74-php-xml php74-php-cli php74-php-devel php74-php-pecl-memcached php74-php-pecl-redis php74-php-opcache -y
3、配置php.ini,(使用清华大学yum安装的php配置文件路径在/etc/opt/remi/php74/)
cp /etc/opt/remi/php74/php.ini{,.bak}

vim /etc/opt/remi/php74/php.ini
[PHP]	#该标签已有,只是将下列参数加到(或修改)该标签下。
expose_php = Off	#禁止显示php版本的信息
short_open_tag = On	#取消前面的;,修改为On。表示支持php短标签
cgi.fix_pathinfo=1	#将注释去掉,开启PHP的pathinfo伪静态功能。
max_execution_time = 300	#脚本运行的最长时间,默认30秒
max_input_time = 300	#脚本可以消耗的时间,默认60秒
memory_limit = 256M	#脚本运行最大消耗的内存,根据你的需求更改数值,默认128M
post_max_size = 100M	#单提交的最大数据,此项不是限制上传单个文件的大小,而是针对整个表单的提交数据进行限制的。限制范围包括表单提交的所有内容.例如:发表贴子时,贴子标题,内容,附件等…默认8
upload_max_filesize = 10M	#上载文件的最大许可大小 ,默认2M
[Date]	#该标签已有,只是修改下方的时区
date.timezone = Asia/Shanghai
4、配置php-fpm.conf
vim /etc/opt/remi/php74/php-fpm.conf
include=/etc/opt/remi/php74/php-fpm.d/*.conf
error_log = /var/opt/remi/php74/log/php-fpm/error.log
5、启动php并加入开机启动
systemctl enable --now php74-php-fpm.service
备注:如果需要卸载老版本php可以使用以下命令进行卸载
rpm -qa |grep php|xargs -i rpm -e {} --nodeps
安装nginx
1、安装yum源
rpm -Uvh http://nginx.org/packages/centos/7/noarch/RPMS/nginx-release-centos-7-0.el7.ngx.noarch.rpm
2、安装nginx
yum install nginx -y
3、将 Zabbix 源码包中的 PHP 文件复制到 Nginx 的根目录下。
mkdir -p /usr/share/nginx/html/zabbix

cp -r zabbix-6.0.3/ui/* /usr/share/nginx/html/zabbix/
4、配置nginx
cp /etc/nginx/nginx.conf{,.bak}

# vim /etc/nginx/nginx.conf
user nginx;
worker_processes auto;
error_log /var/log/nginx/error.log;
pid /run/nginx.pid;

include /usr/share/nginx/modules/*.conf;

events {
    worker_connections 1024;
}

http {
    log_format  main  '$remote_addr - $remote_user [$time_local] "$request" '
                      '$status $body_bytes_sent "$http_referer" '
                      '"$http_user_agent" "$http_x_forwarded_for"';

    access_log  /var/log/nginx/access.log  main;

    sendfile            on;
    tcp_nopush          on;
    tcp_nodelay         on;
    keepalive_timeout   65;
    types_hash_max_size 4096;

    include             /etc/nginx/mime.types;
    default_type        application/octet-stream;

    include /etc/nginx/conf.d/*.conf;

    server {
        listen       80;
        listen       [::]:80;
        server_name  _;
        root         /usr/share/nginx/html/zabbix;
        index index.php  index.html index.htm;

        include /etc/nginx/default.d/*.conf;


        location ~ \.php$ {
            root /usr/share/nginx/html/zabbix;
            fastcgi_pass   127.0.0.1:9000;
            fastcgi_index  index.php;
            fastcgi_param SCRIPT_FILENAME   $document_root$fastcgi_script_name;
            fastcgi_param  SCRIPT_NAME      $fastcgi_script_name;
            include        fastcgi_params;
        }
        error_page 404 /404.html;
        location = /404.html {
        }

        error_page 500 502 503 504 /50x.html;
        location = /50x.html {
        }
    }
}
5、启动nginx并加入开机启动
systemctl enable --now nginx
到这里就可以进行访问配置的地址和端口进行 zabbix-web 安装了
Web界面配置
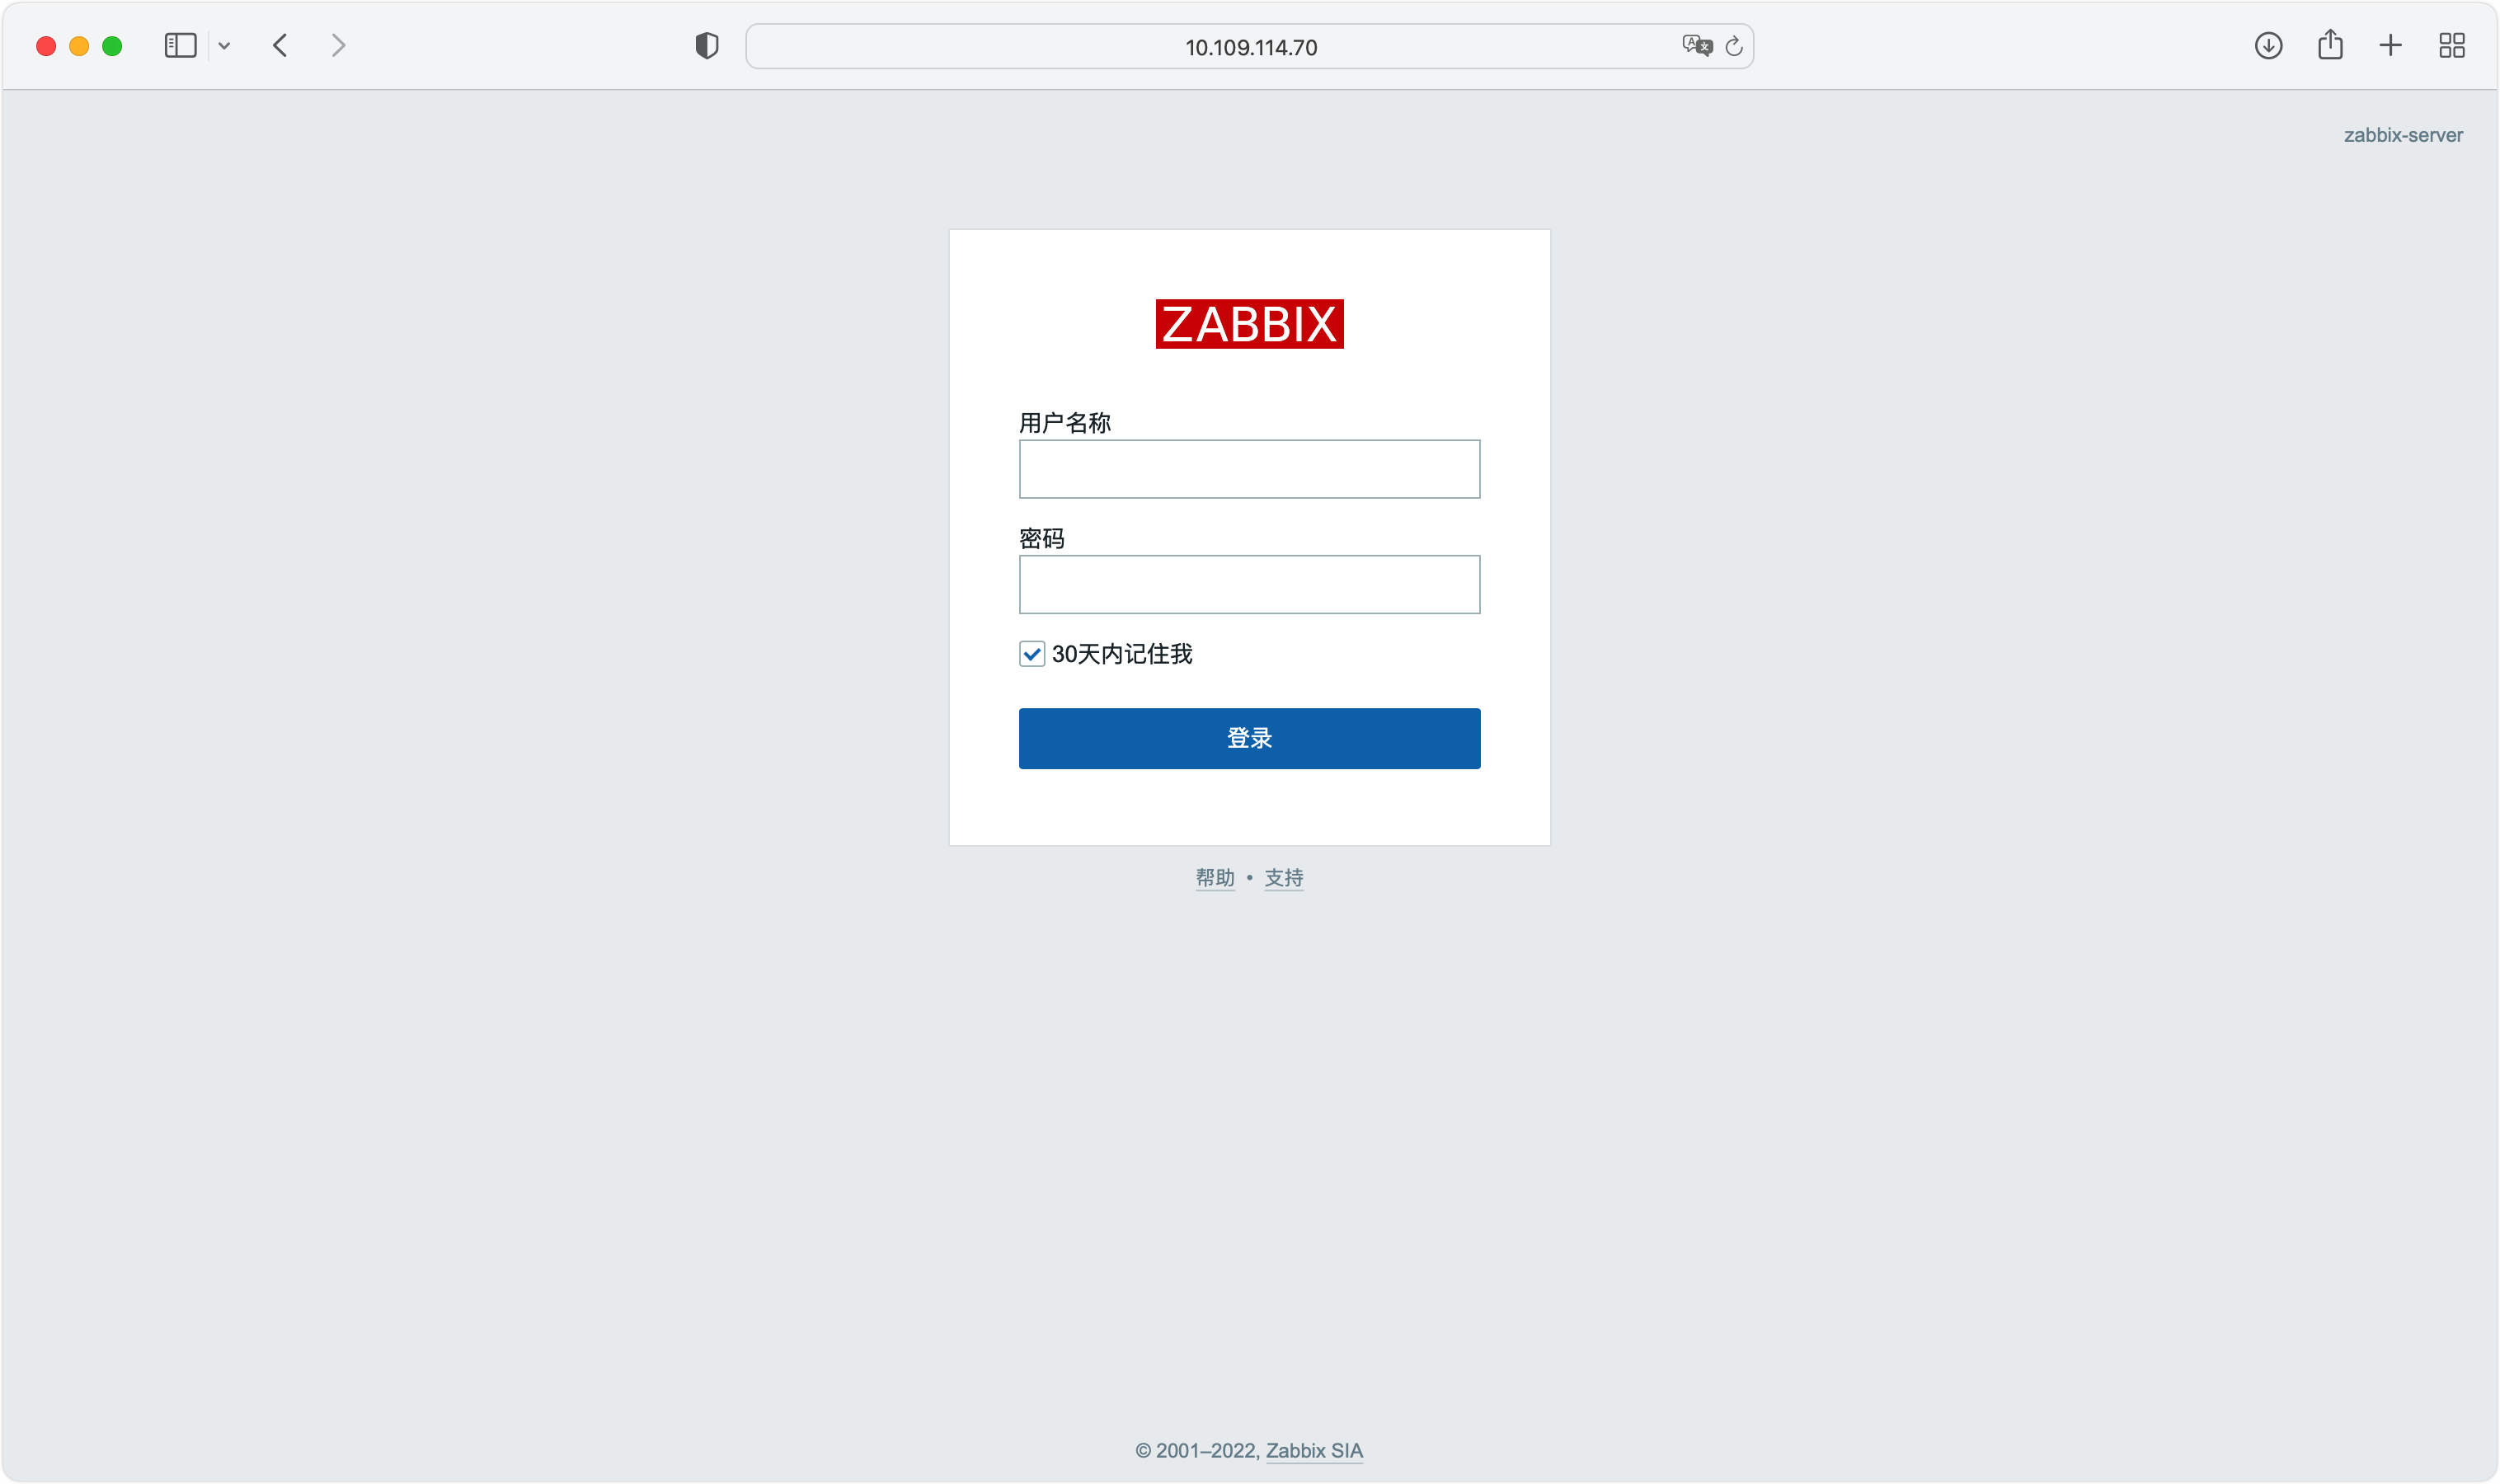
1、访问Web界面,如下图,并选择自己所使用的语言
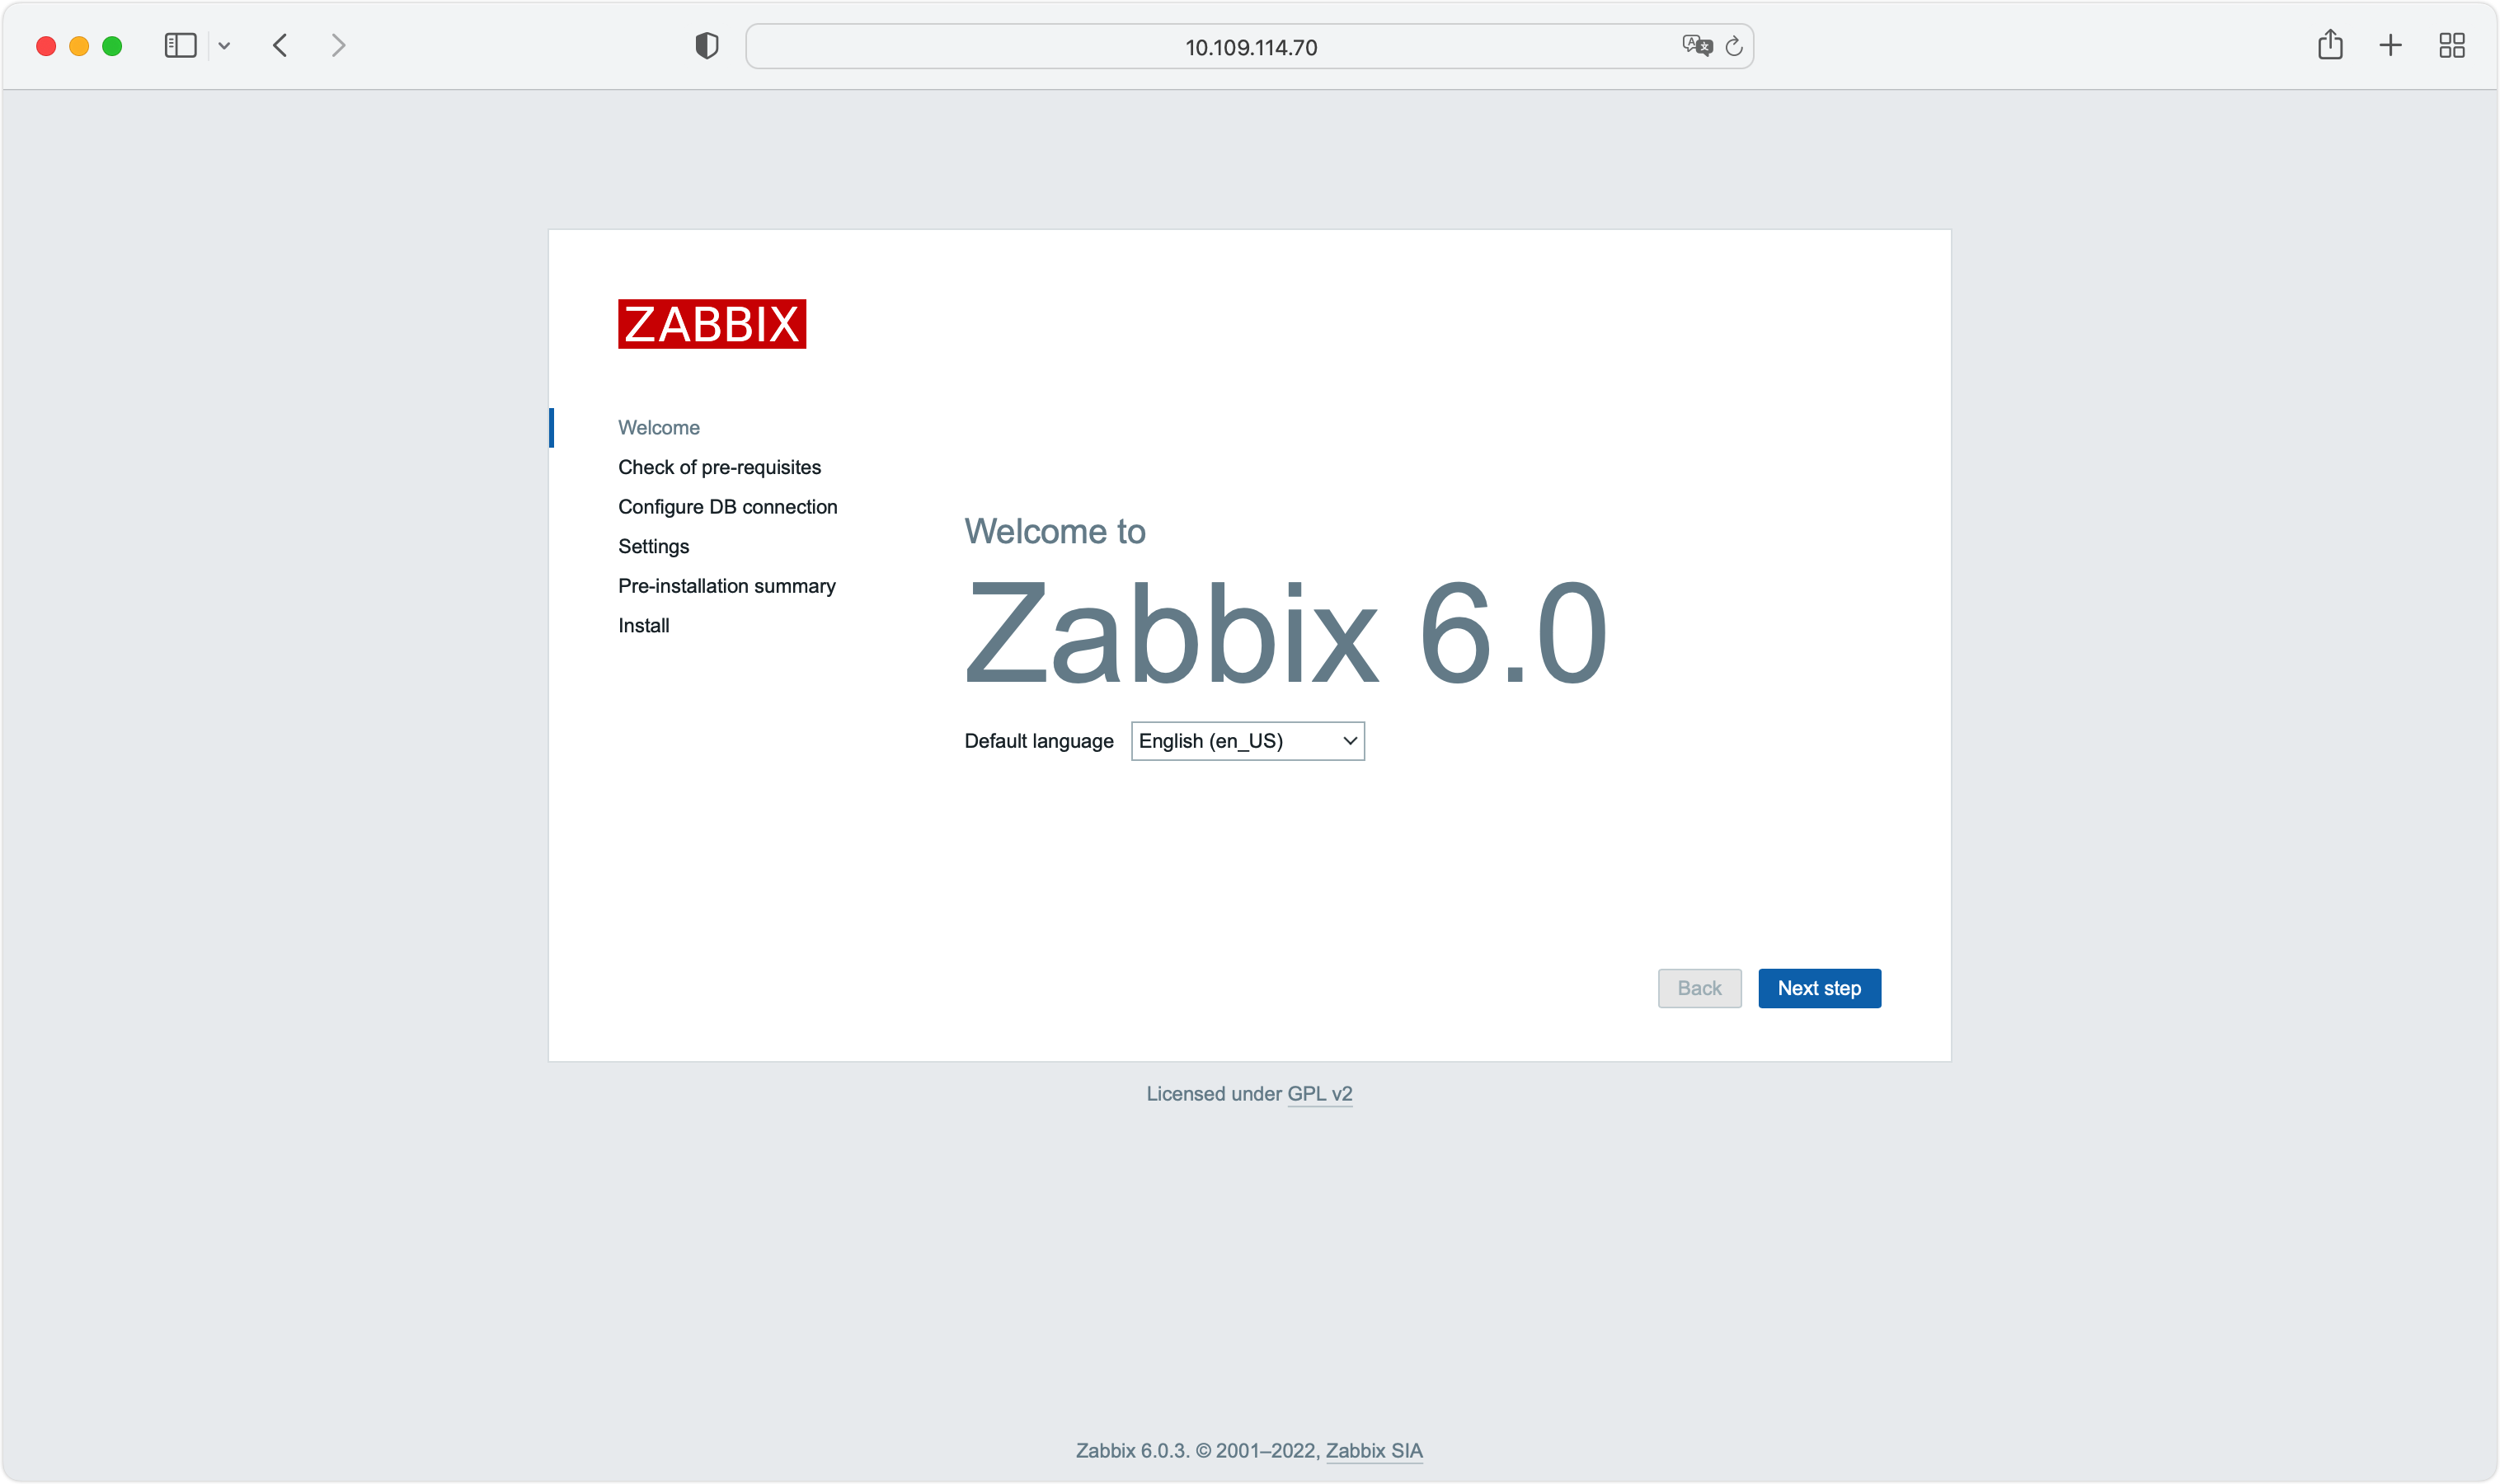
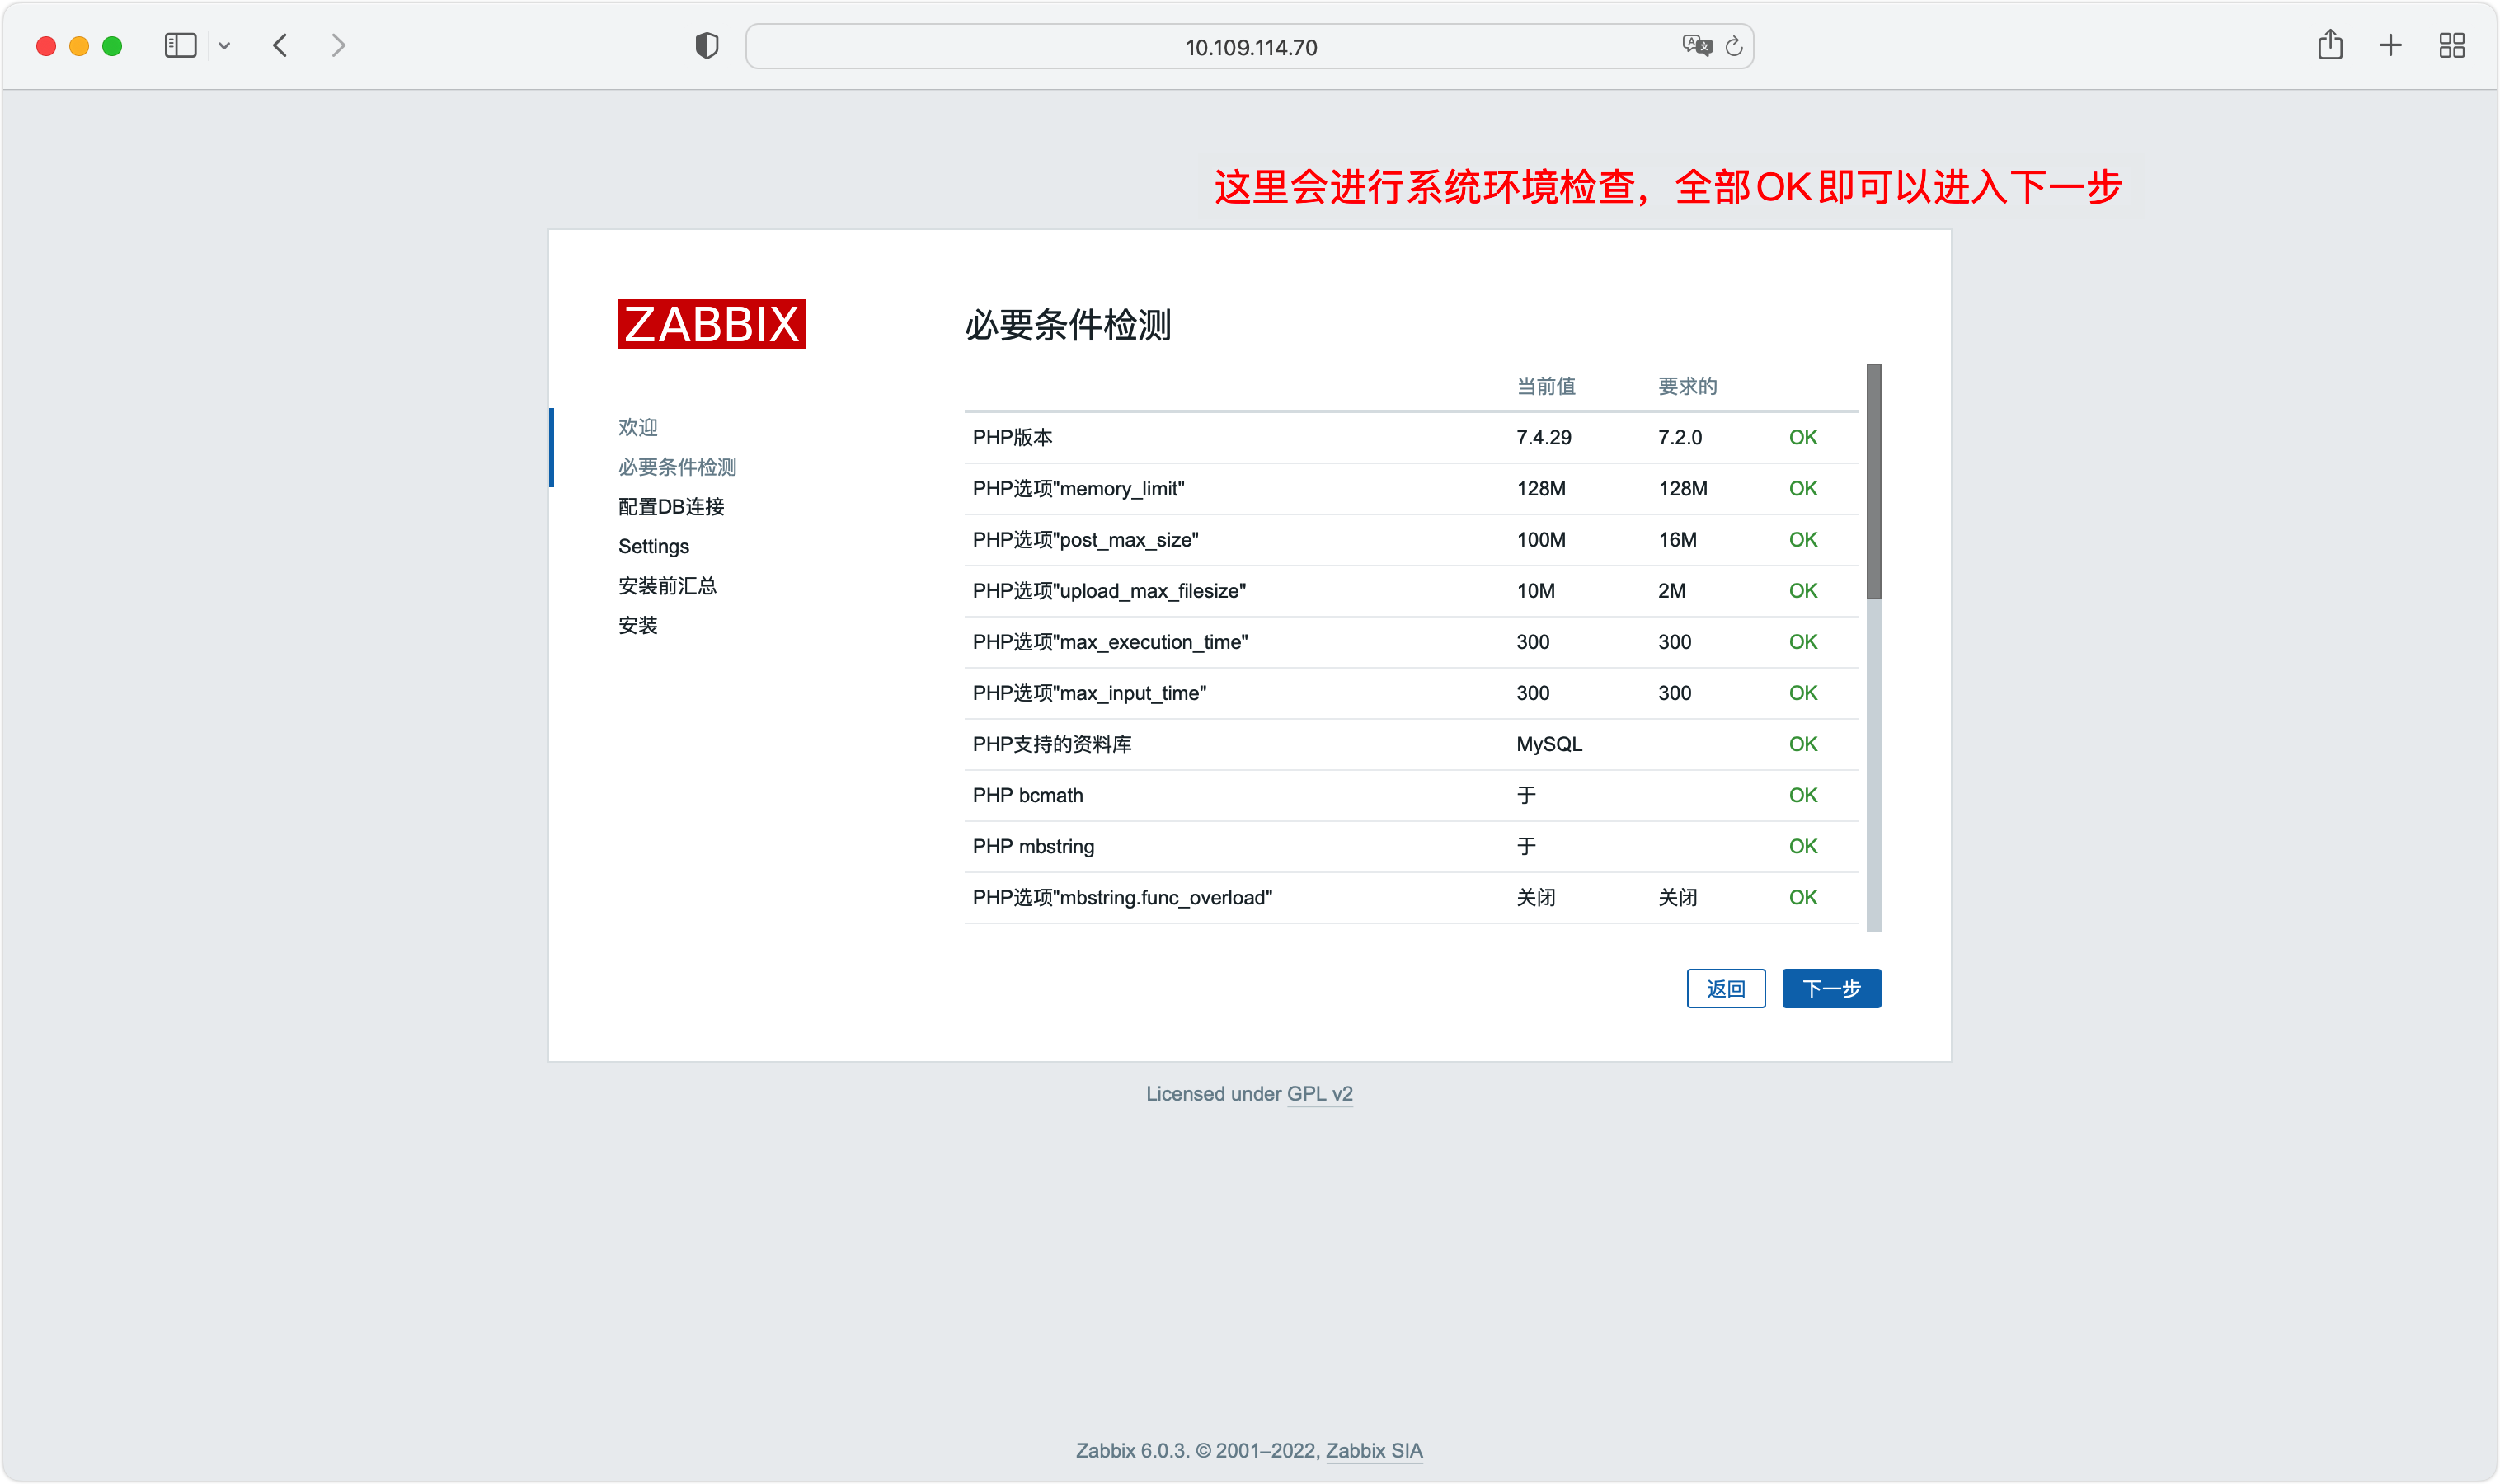
2、基础环境检测
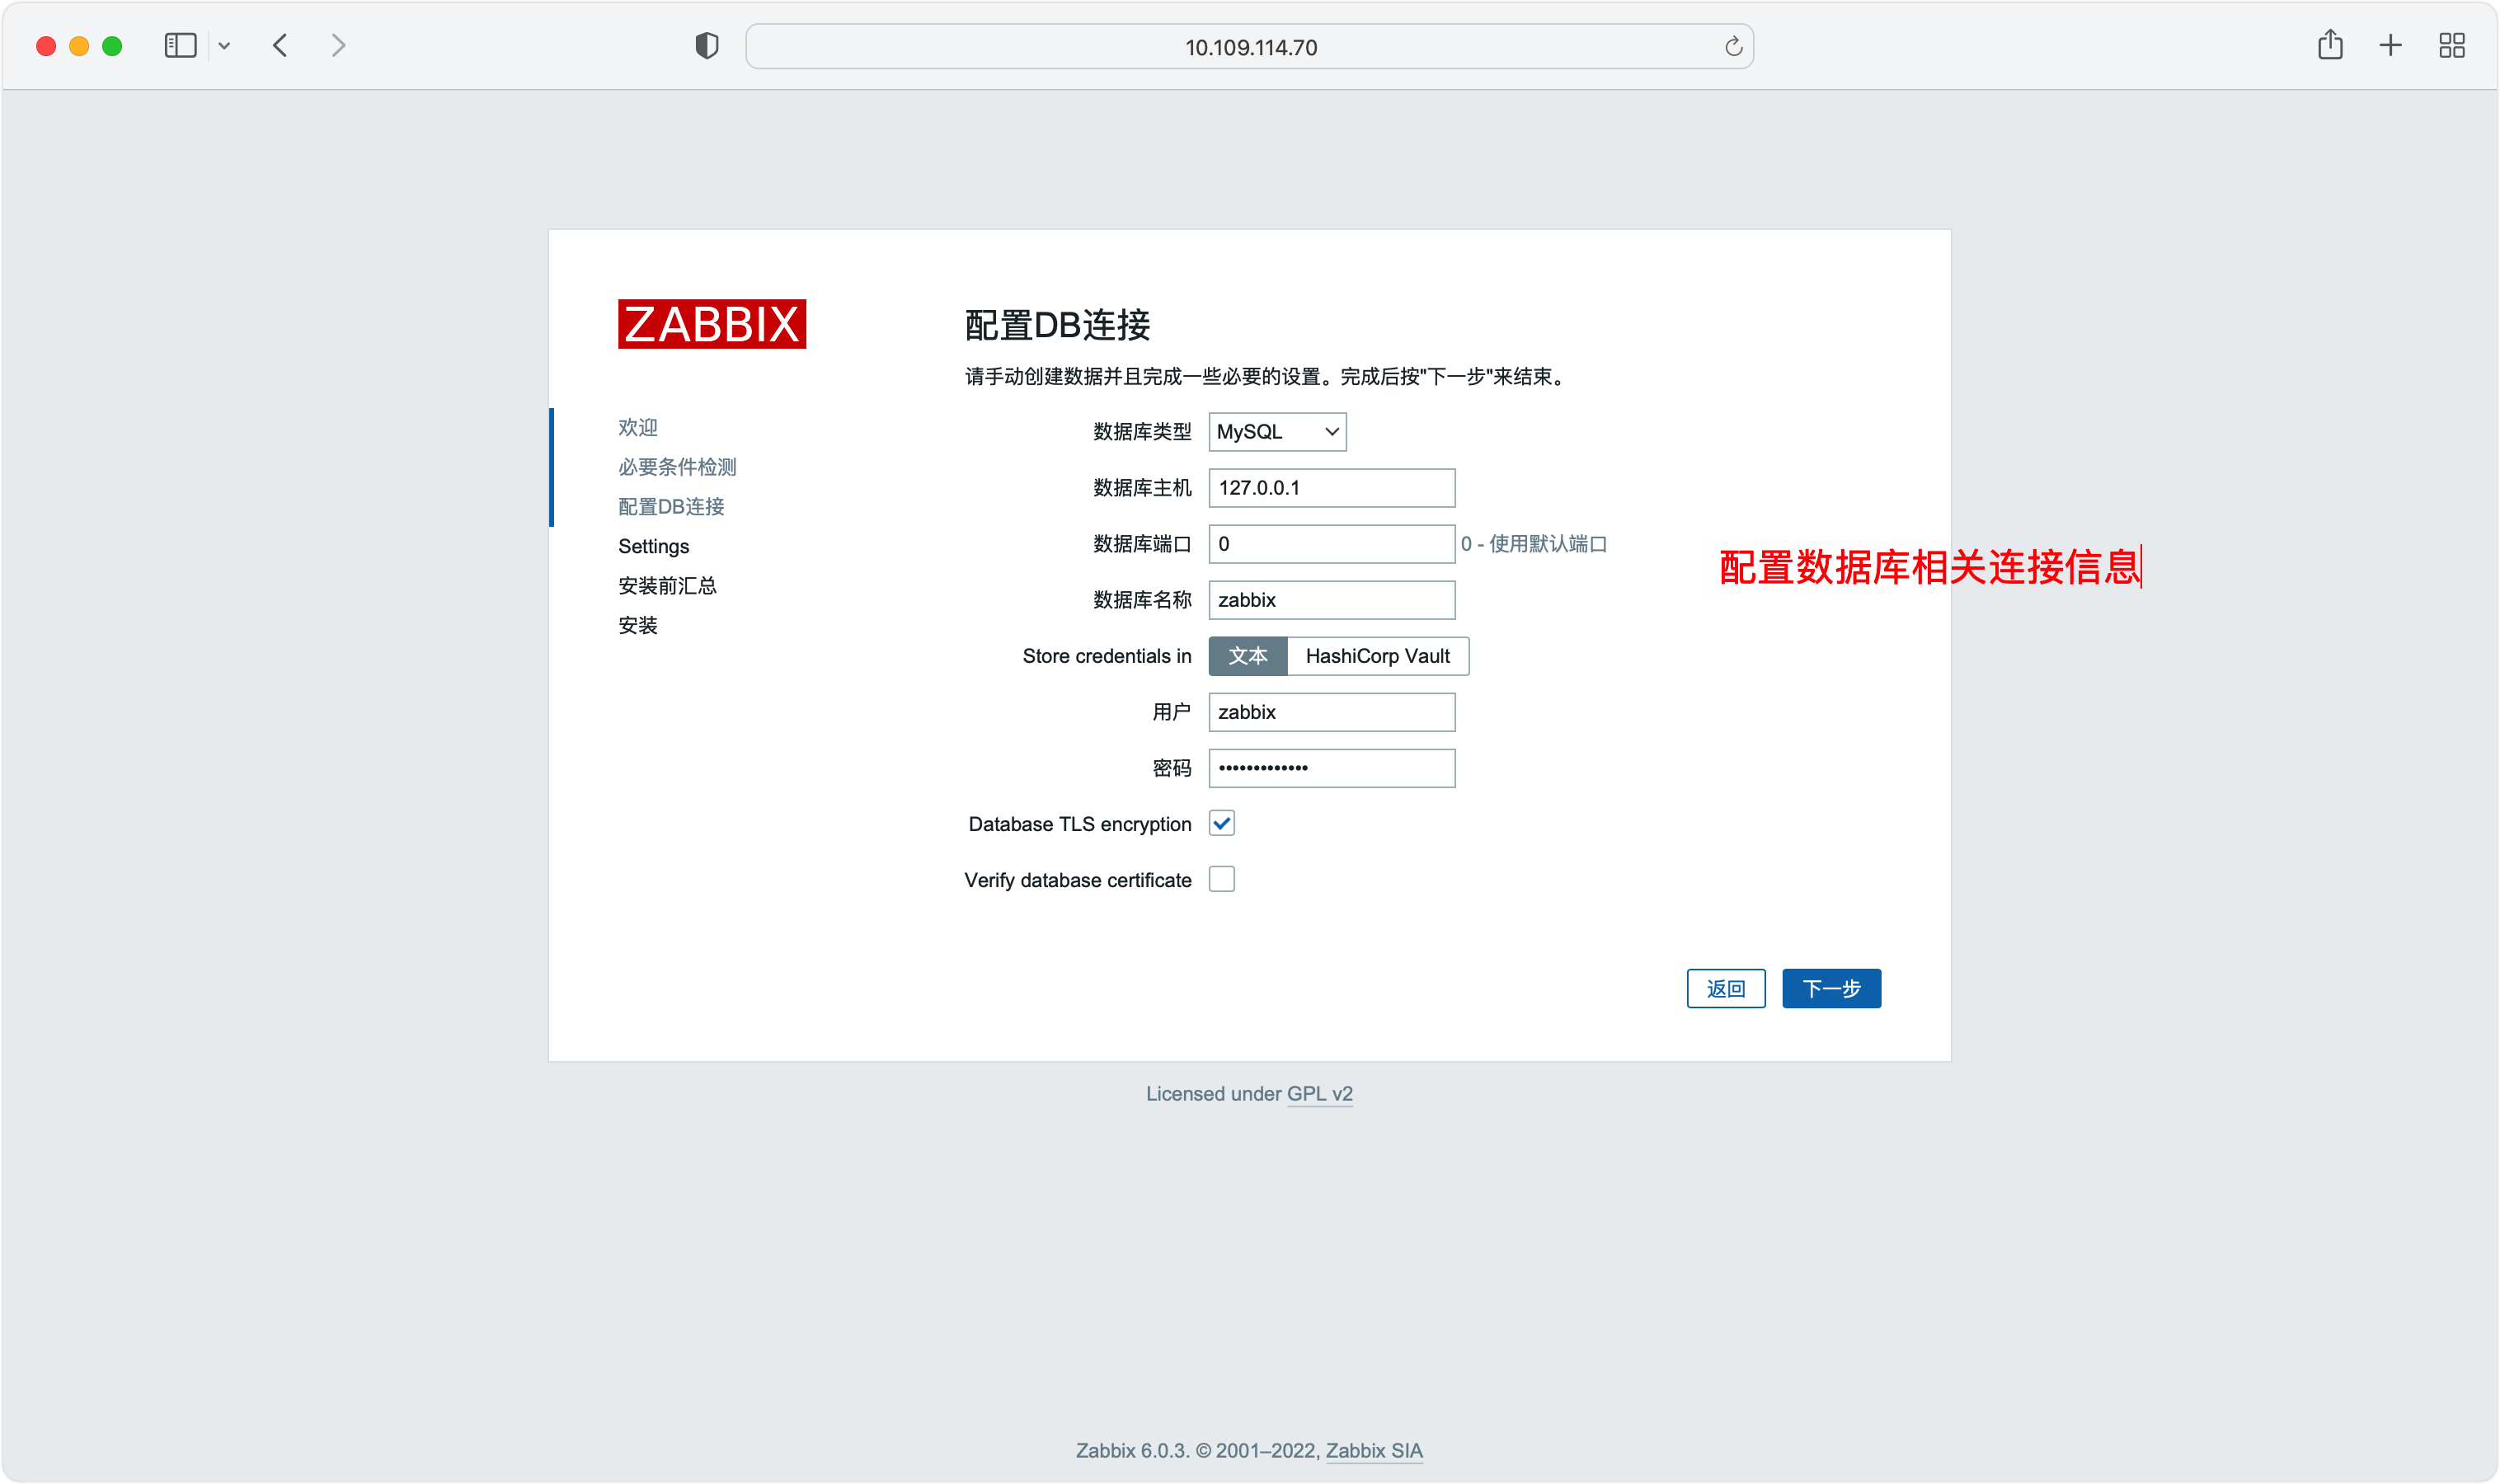
3、配置数据库连接信息
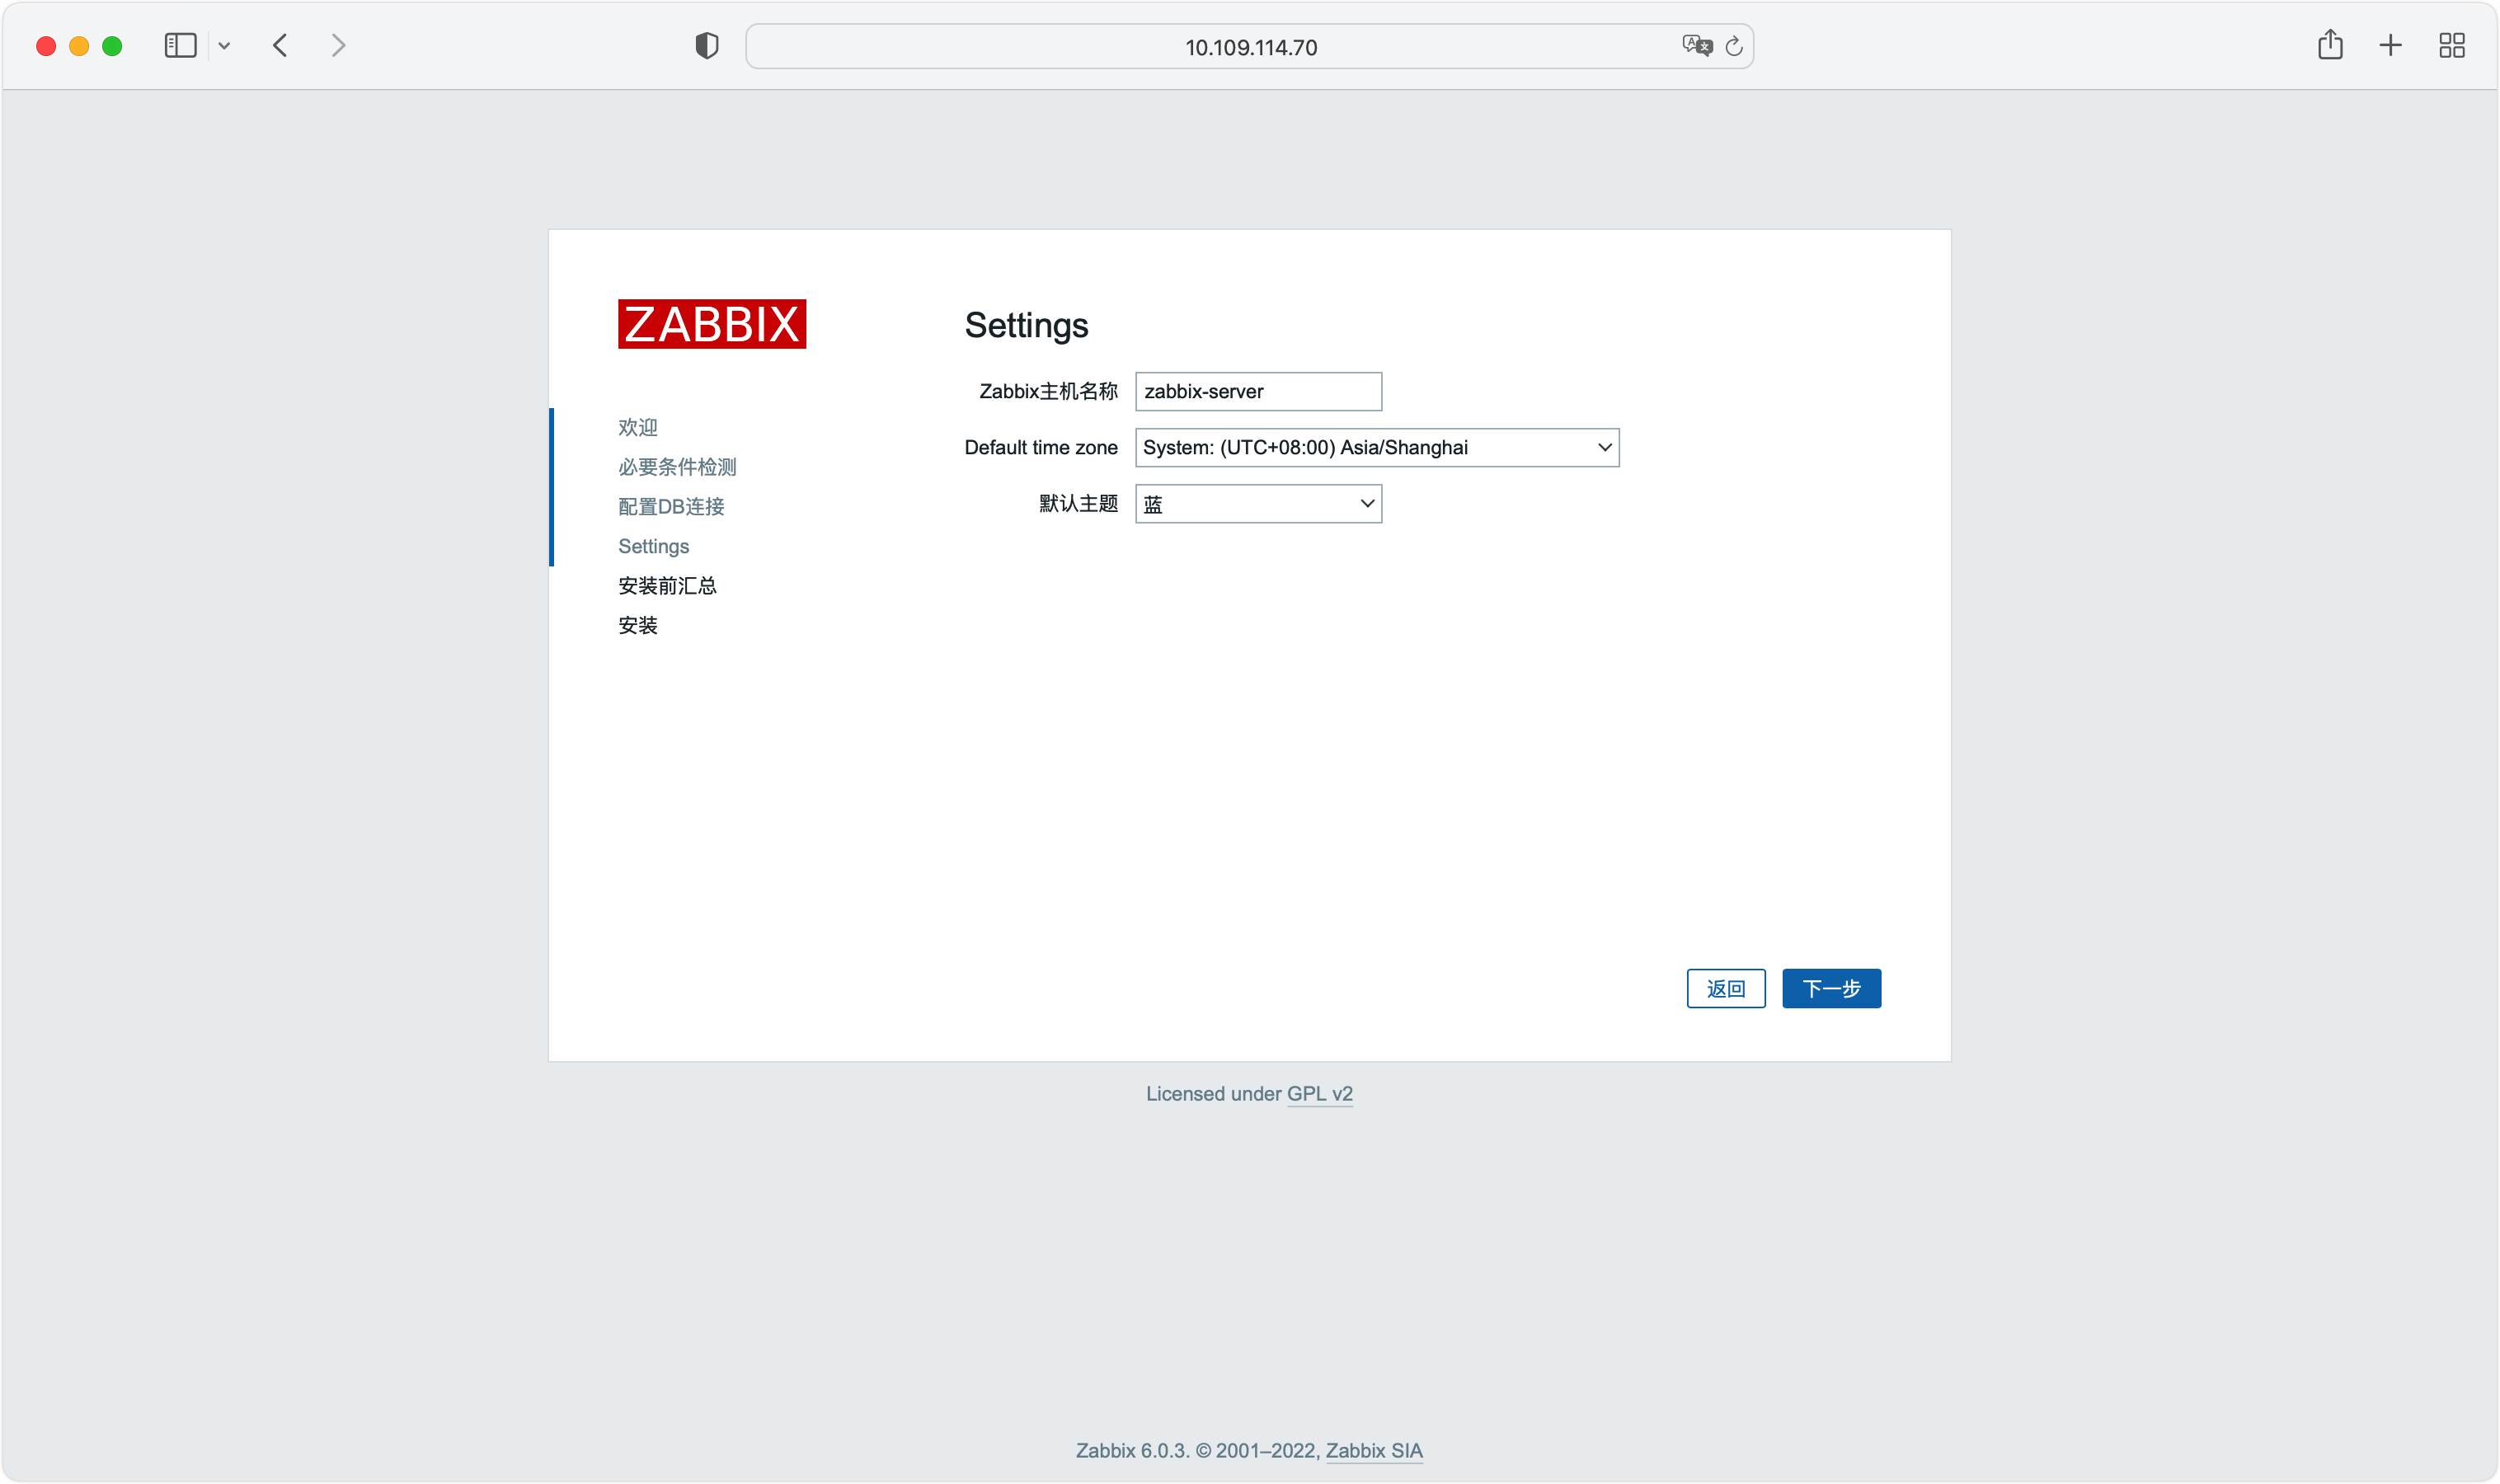
4、配置主机名称和时区
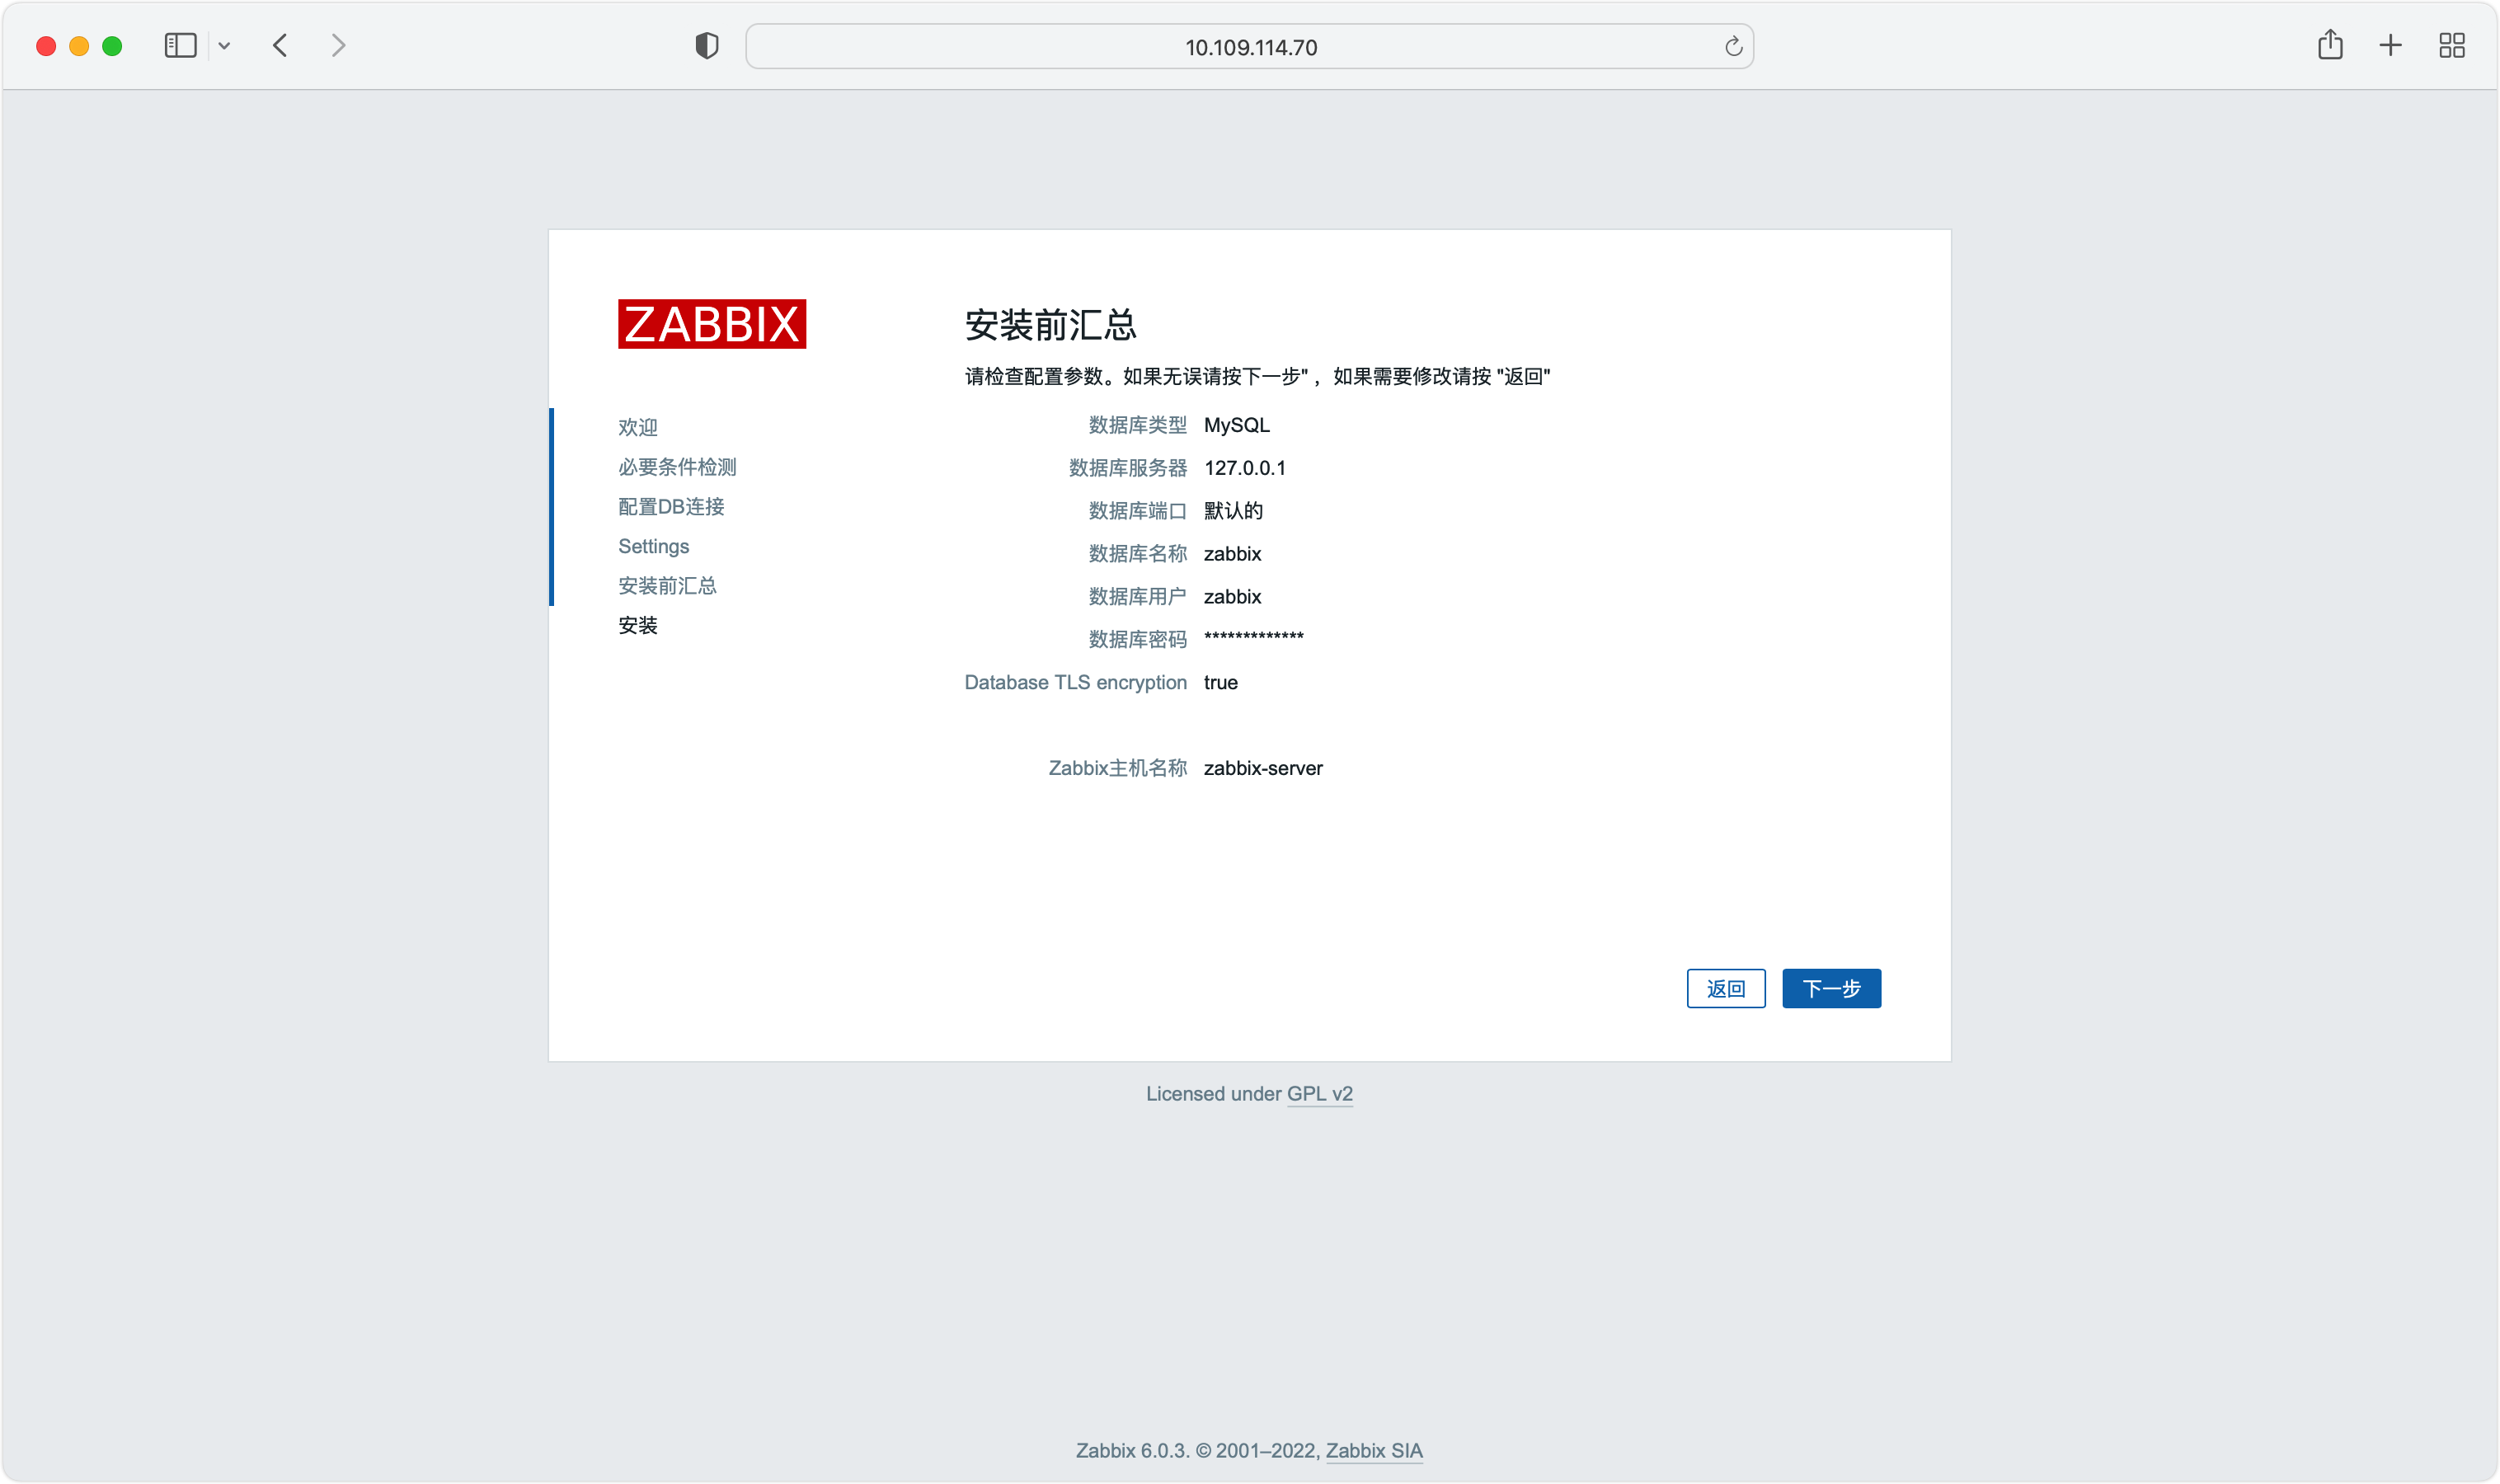
5、检查配置
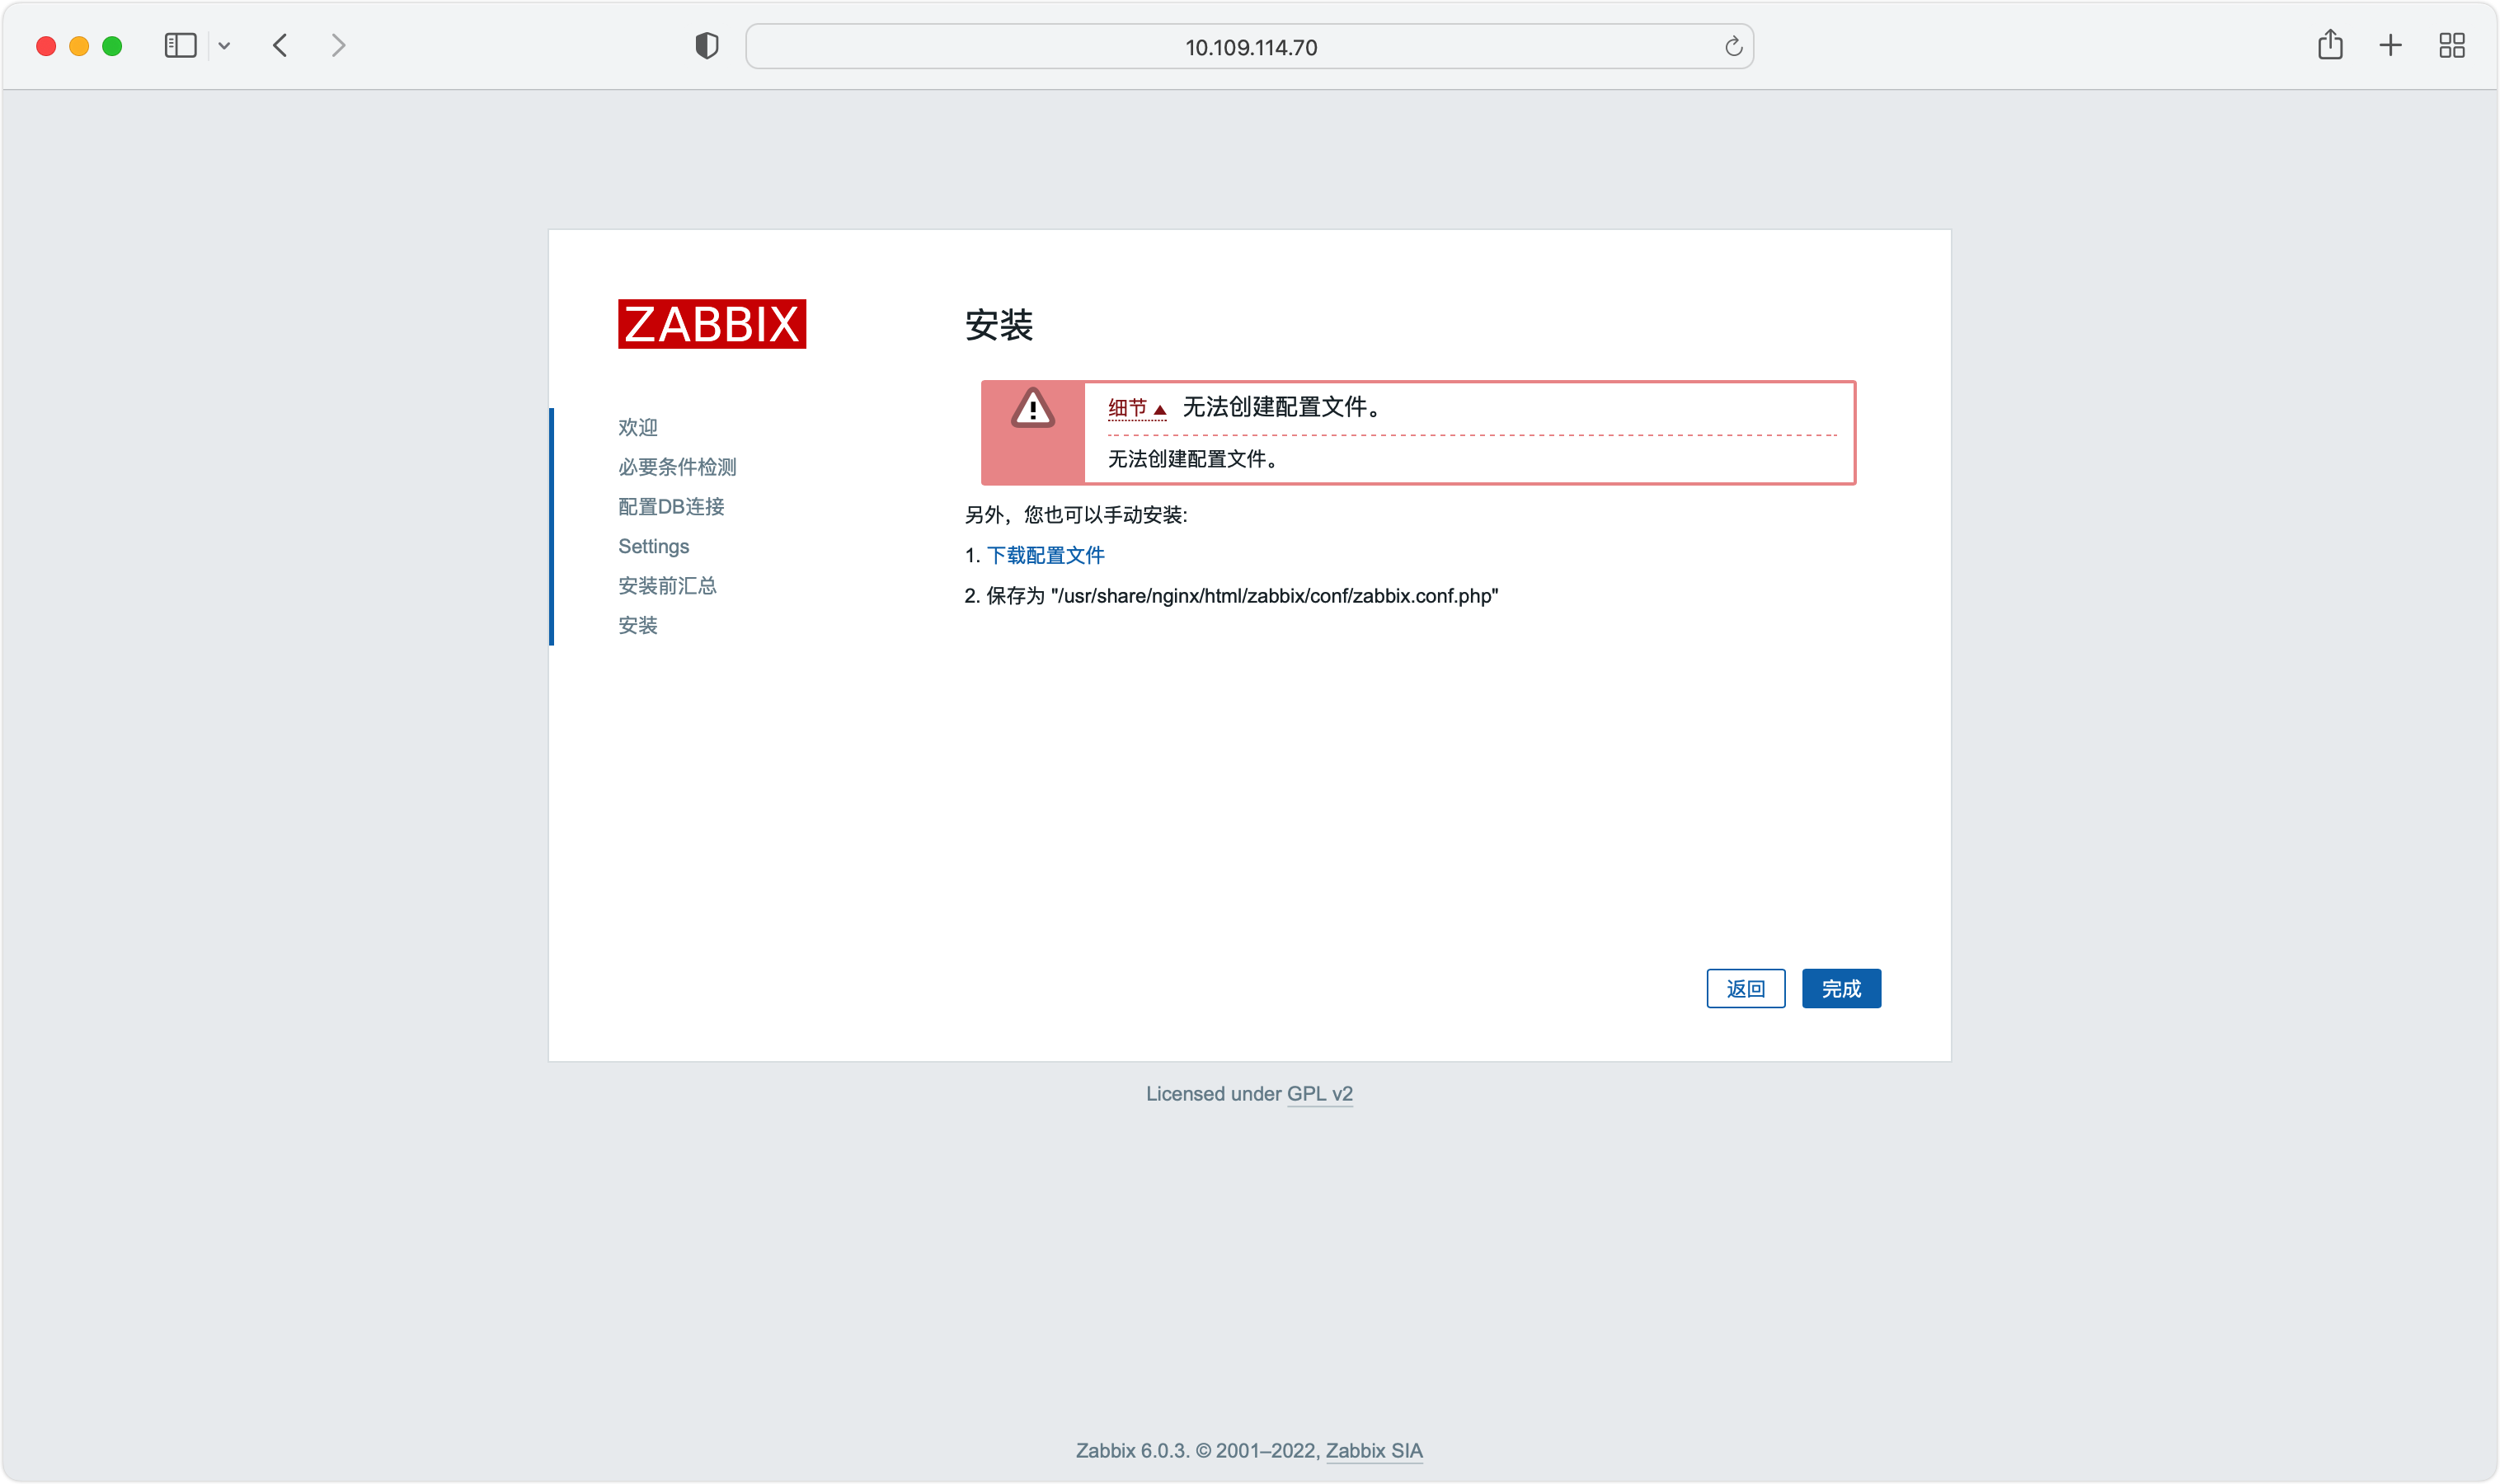
6、如果出现下图,按照图中提示,下载文件,保存到对应提示路径中。
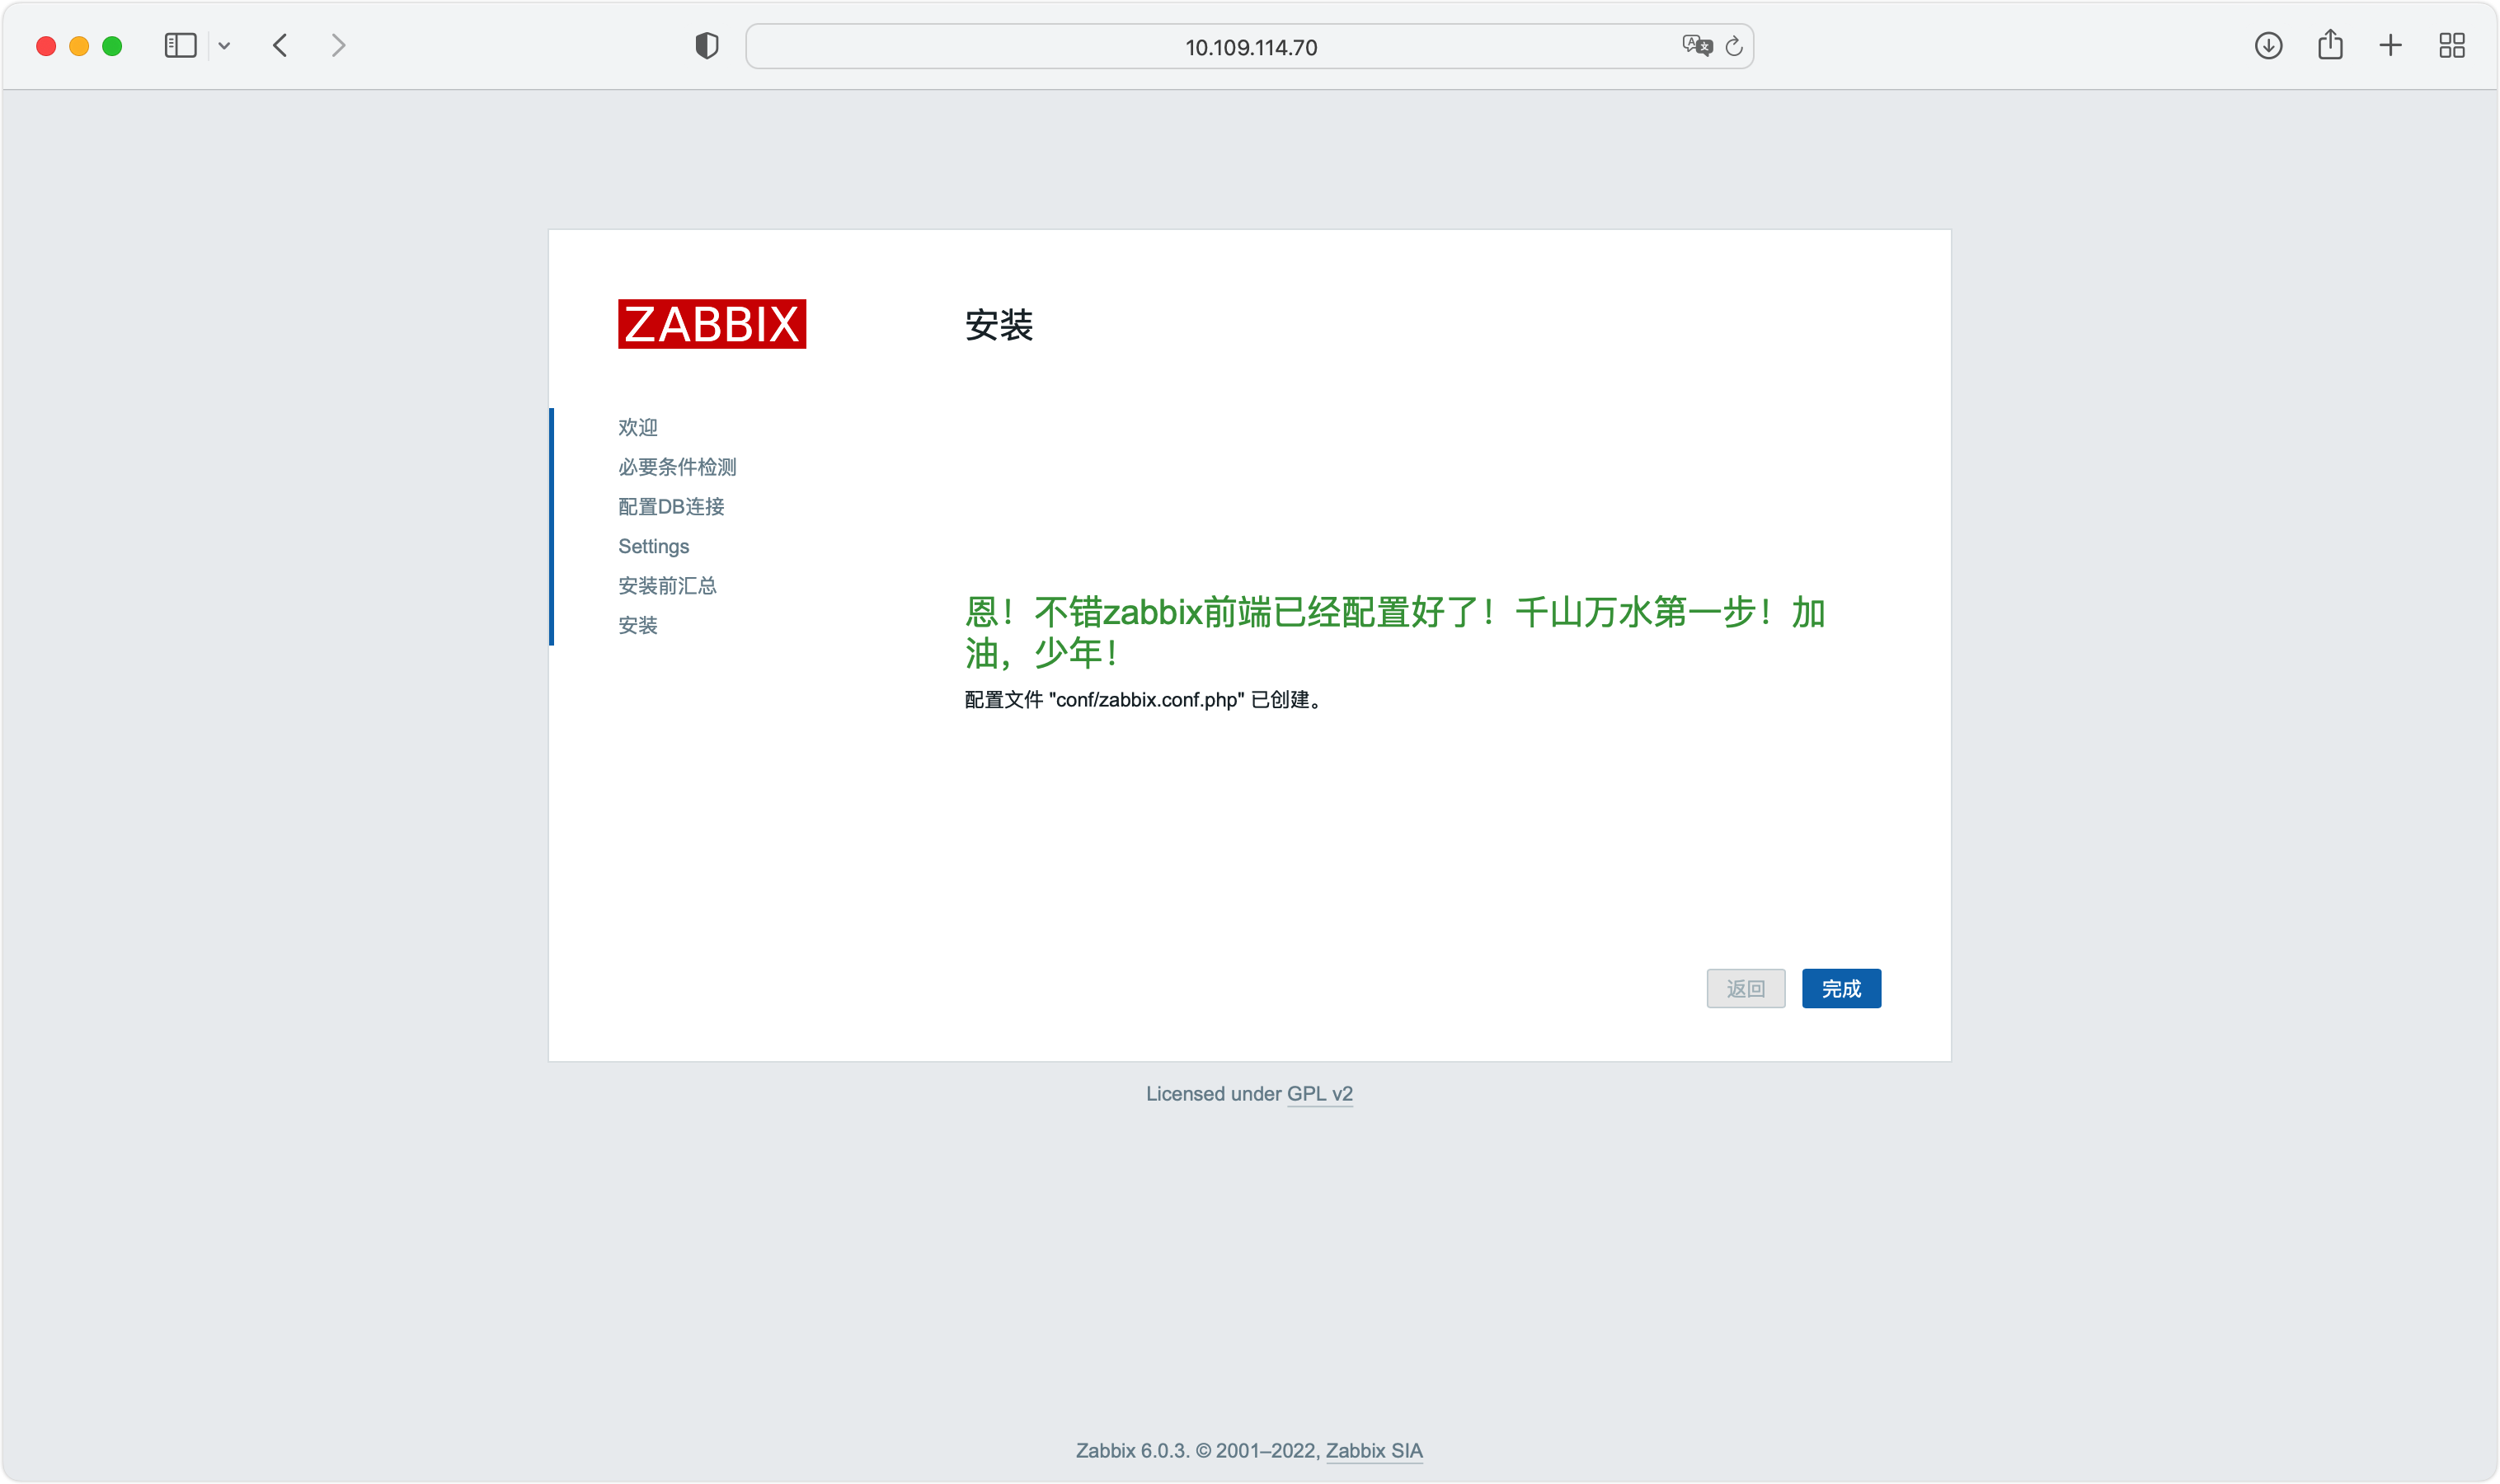
7、配置完成后如下图所示,点击完成。
8、进入登陆界面(默认账号/密码:Admin/zabbix)
启用zabbix-agent
启用 zabbix-server 服务器本身的 agnet,这里我们上面安装的时候已经把模块安装上了,这里只需要配置下启动即可。
这里由于在一台机器,不用修改什么,直接启动即可
1、配置systemd
cat <<EOF > /etc/systemd/system/zabbix-agent.service
[Unit]
Description=Zabbix Agent
After=syslog.target network.target network-online.target
Wants=network.target network-online.target

[Service]
Type=simple
User=root
ExecStart=/usr/local/zabbix/sbin/zabbix_agentd -c /usr/local/zabbix/etc/zabbix_agentd.conf
RemainAfterExit=yes

[Install]
WantedBy=multi-user.target
EOF
2、加入开机启动并启动
systemctl daemon-reload

systemctl enable zabbix-agent --now
3、查看状态
# systemctl status zabbix-agent
● zabbix-agent.service - Zabbix Agent
   Loaded: loaded (/etc/systemd/system/zabbix-agent.service; disabled; vendor preset: disabled)
   Active: active (exited) since Wed 2022-04-13 18:56:50 CST; 7s ago
  Process: 2243 ExecStart=/usr/local/zabbix/sbin/zabbix_agentd -c /usr/local/zabbix/etc/zabbix_agentd.conf (code=exited, status=0/SUCCESS)
 Main PID: 2243 (code=exited, status=0/SUCCESS)
   CGroup: /system.slice/zabbix-agent.service
           ├─2245 /usr/local/zabbix/sbin/zabbix_agentd -c /usr/local/zabbix/etc/zabbix_agentd.conf
           ├─2246 /usr/local/zabbix/sbin/zabbix_agentd: collector [idle 1 sec]
           ├─2247 /usr/local/zabbix/sbin/zabbix_agentd: listener #1 [waiting for connection]
           ├─2248 /usr/local/zabbix/sbin/zabbix_agentd: listener #2 [waiting for connection]
           ├─2249 /usr/local/zabbix/sbin/zabbix_agentd: listener #3 [waiting for connection]
           └─2250 /usr/local/zabbix/sbin/zabbix_agentd: active checks #1 [idle 1 sec]

Apr 13 18:56:50 test systemd[1]: Started Zabbix Agent.
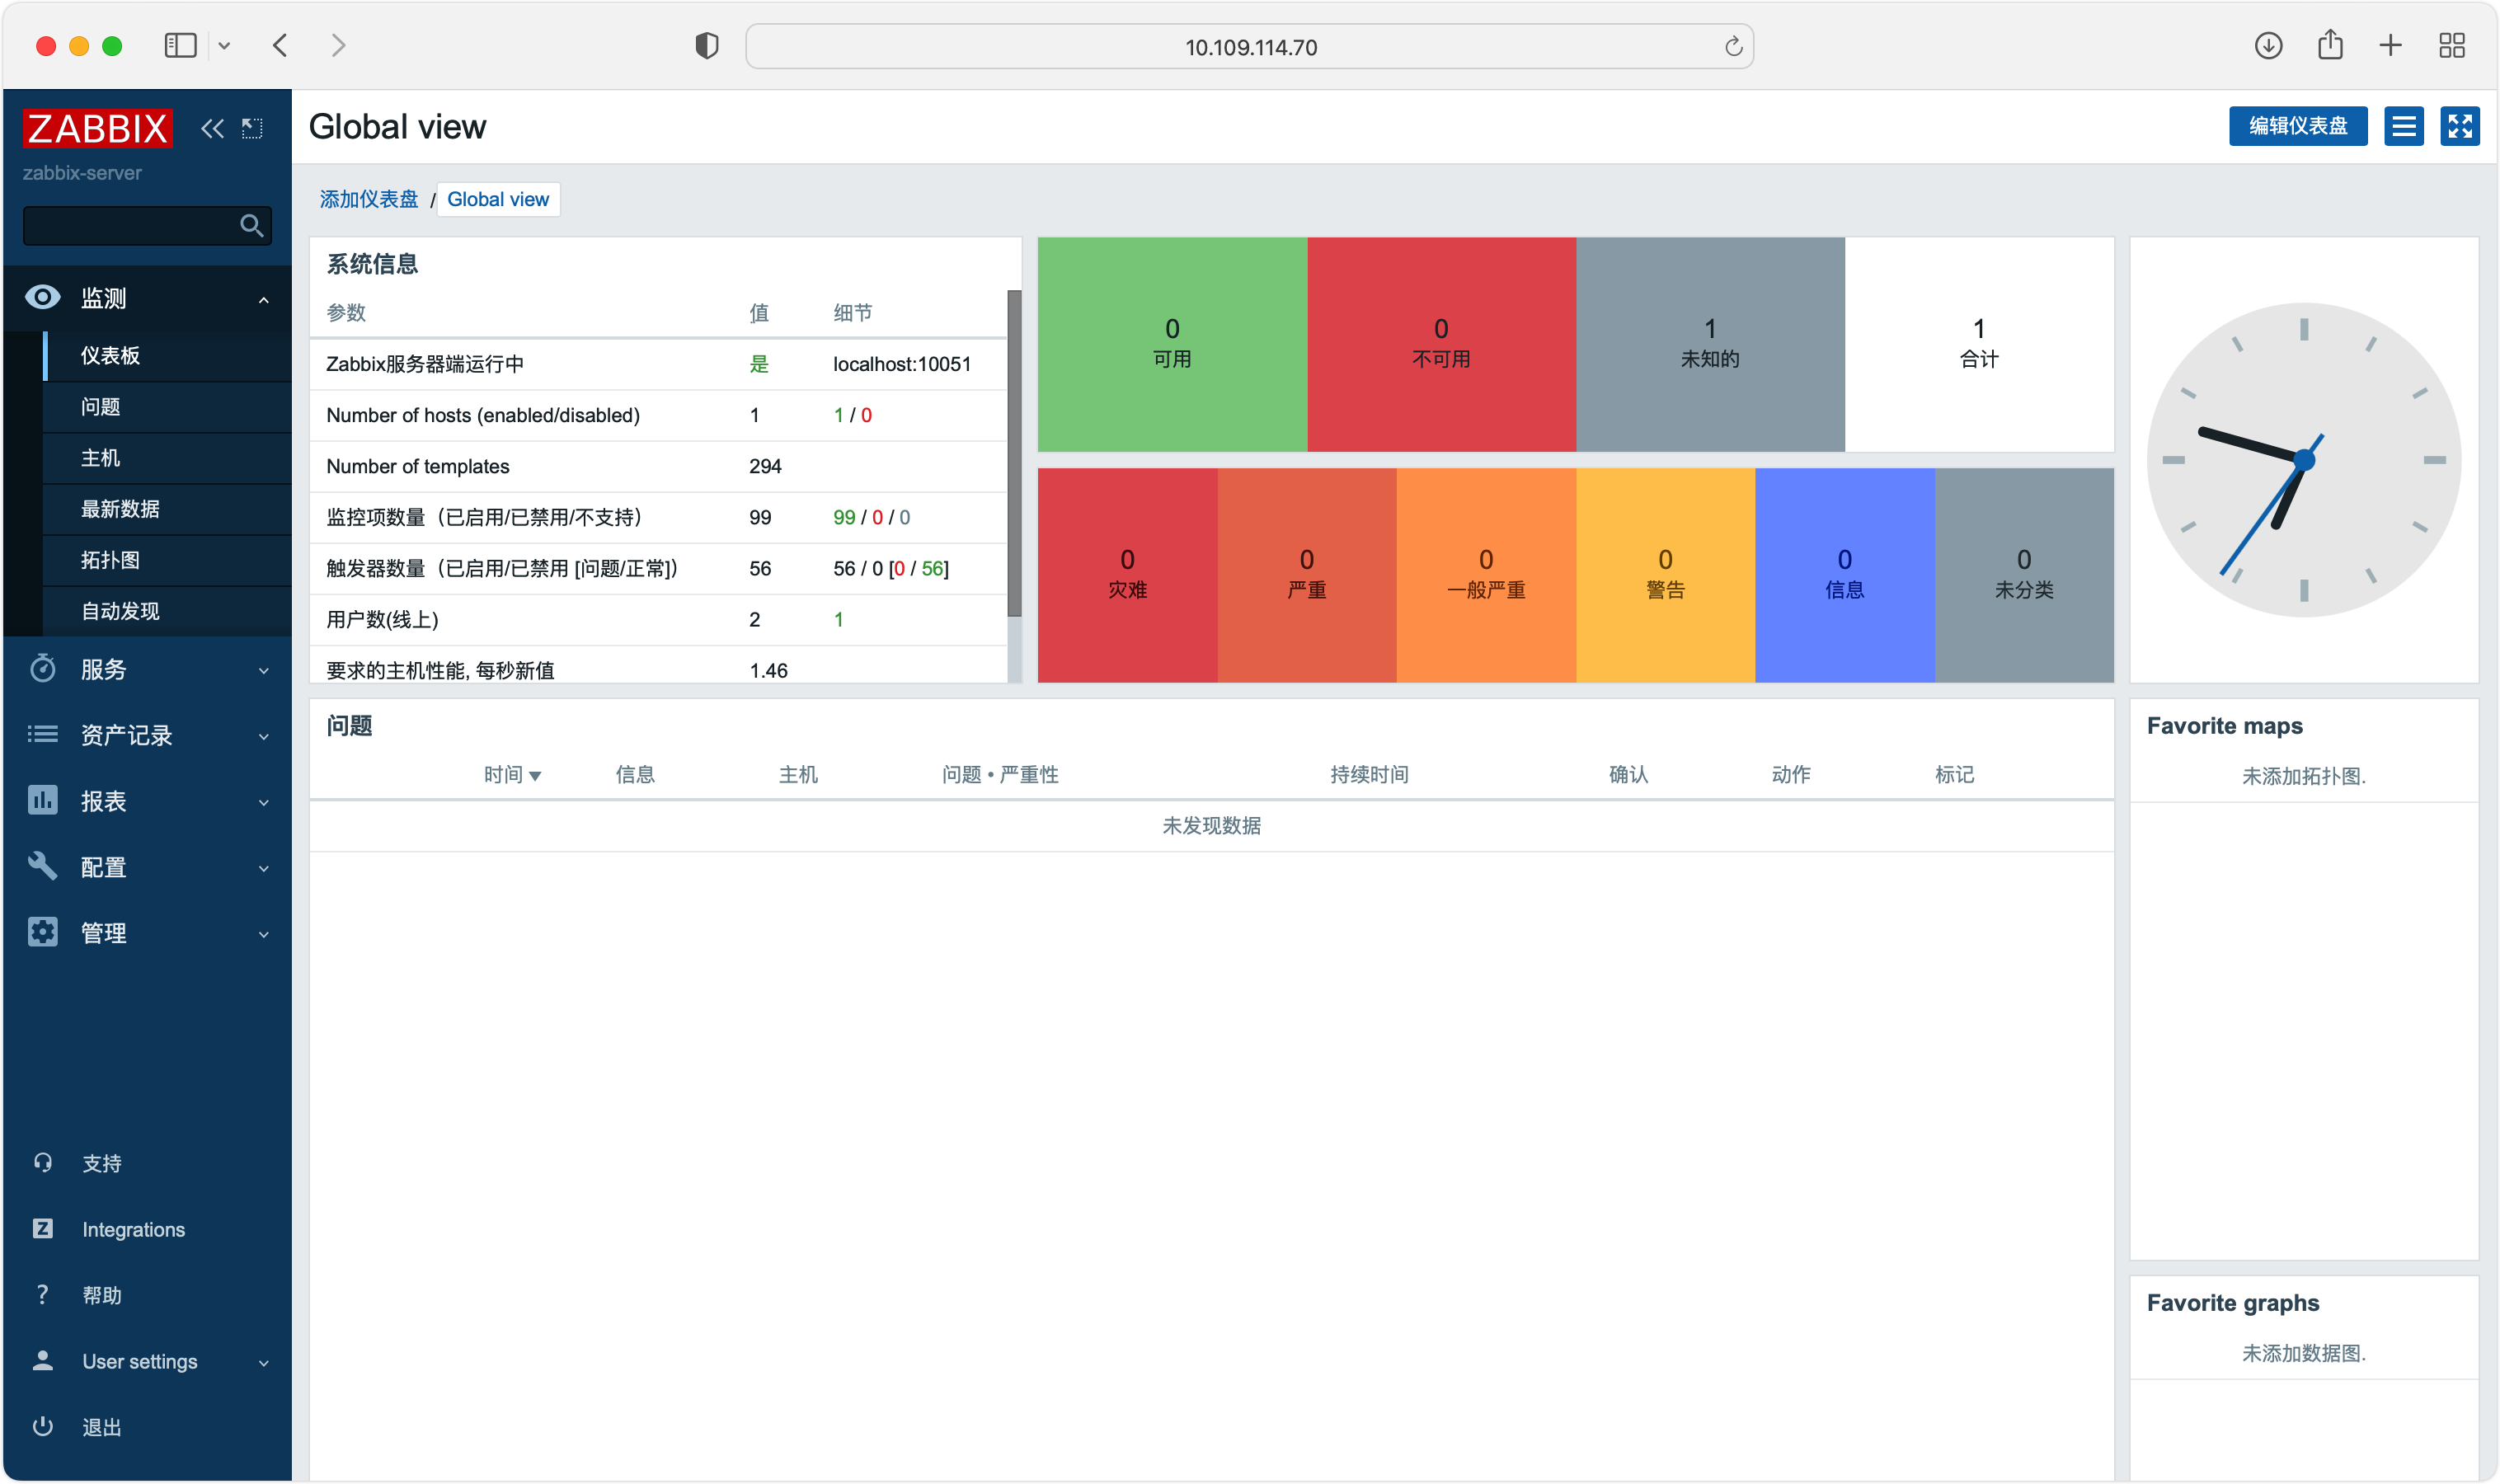
4、再次检查状态(此时可以看到可用的机器数为1了)
